Chicken Pot Pie with Bisquick
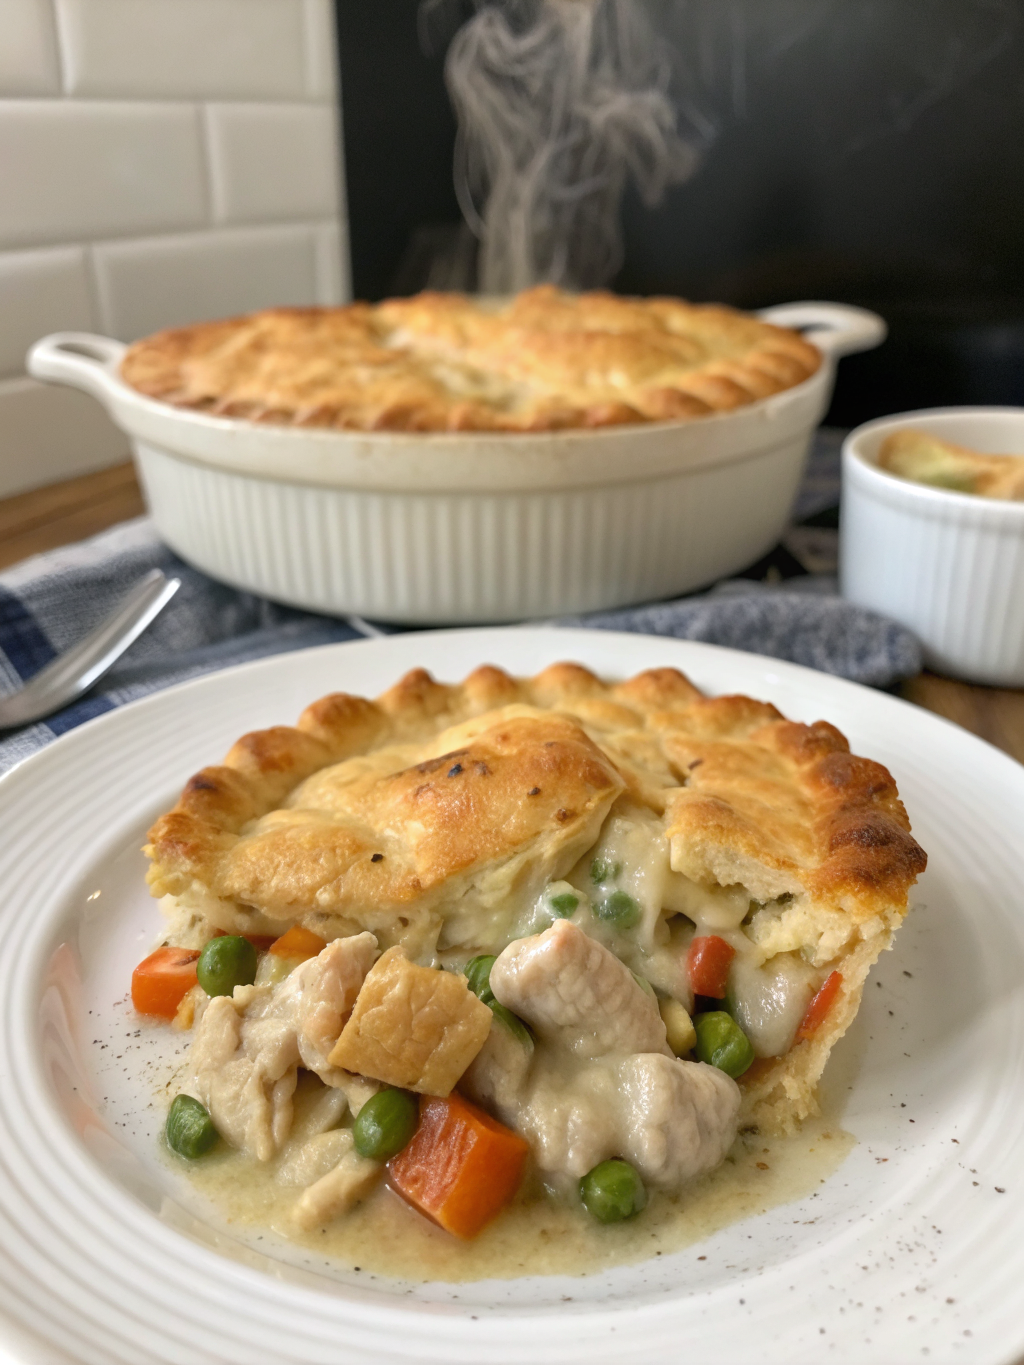
This chicken pot pie with bisquick swaps homemade pastry for a genuinely easy pour-and-bake topping, ready in about 50 minutes with real comfort-food payoff.
Once you make this chicken pot pie with bisquick, try my Chicken Broccoli Rice or BBQ Chicken Thighs next for more easy chicken dinner ideas!
Have you ever wondered how to create a comforting, homemade chicken pot pie without spending hours in the kitchen? This chicken pot pie with bisquick transforms a classic comfort food into an achievable weeknight dinner that your entire family will love. Using Bisquick as a shortcut creates a golden, flaky topping that rivals traditional pastry crusts.
This recipe combines tender chicken, colorful vegetables, and a creamy sauce, all topped with a perfectly seasoned Bisquick crust. Whether you’re a busy parent, a cooking novice, or simply someone who appreciates delicious comfort food, this dish delivers restaurant-quality results with minimal effort. The beauty of this recipe lies in its simplicity and versatility.
Traditional chicken pot pie recipes often require making pastry from scratch, which can be intimidating for many home cooks. By using Bisquick, we eliminate the most time-consuming step while maintaining that satisfying, biscuit-like topping everyone craves. This approach has helped thousands of home cooks rediscover their love for this classic dish.
Ingredients List
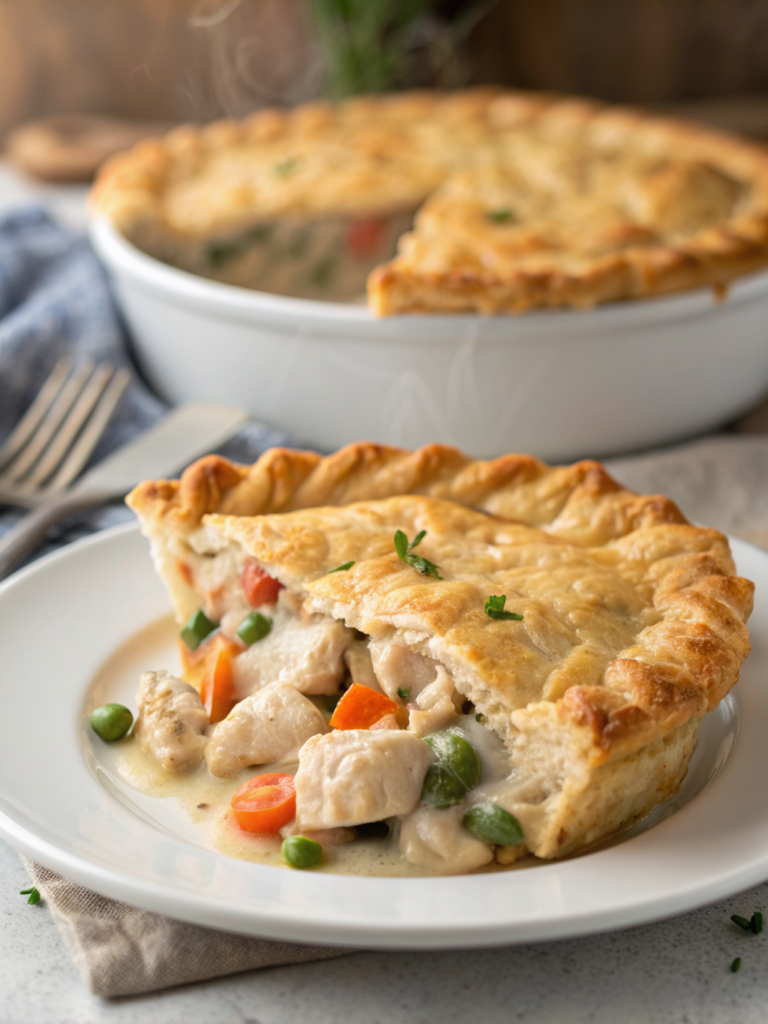
Gathering your ingredients before you start cooking ensures a smooth preparation process. This recipe serves 6-8 people generously, making it perfect for family dinners or meal prep for the week ahead.
For the Filling:
For the Bisquick Topping:
The beauty of this recipe is its flexibility. You can substitute fresh vegetables for frozen, use turkey instead of chicken, or add herbs like rosemary or sage for additional depth. Some home cooks prefer adding celery or mushrooms for extra texture and flavor.
How to Make It
This is just the overview for this chicken pot pie with bisquick. Scroll down to the recipe card for exact measurements and timing.
Build a creamy chicken and vegetable filling from a simple roux, pour it into a baking dish, top with a quick Bisquick batter, and bake until golden.
Make Ahead Method
- Prepare the filling for this chicken pot pie with bisquick up to 2 days ahead and store separately, refrigerated.
- Mix the Bisquick topping fresh just before baking, this is what gives it the best rise and texture.
- Freezes well for up to 3 months once fully baked and cooled, wrapped tightly in plastic and foil.
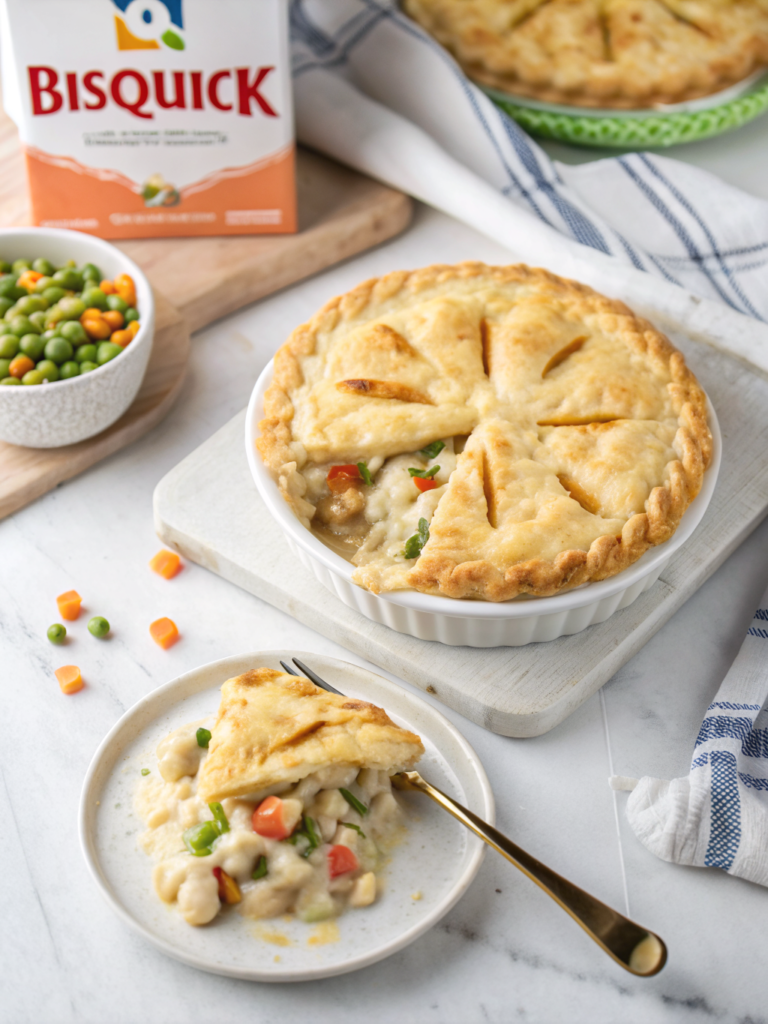
Chicken Pot Pie with Bisquick
Course: ChickenCuisine: AmericanDifficulty: Easy4
servings30
minutes40
minutes300
kcalA creamy chicken and vegetable filling topped with a golden, pour-and-bake Bisquick crust.
Ingredients
3 cups cooked chicken, diced or shredded, rotisserie works great
1/3 cup butter
1/3 cup all-purpose flour
1/2 tsp salt
1/4 tsp black pepper
1/4 tsp garlic powder
1/4 tsp onion powder
1 3/4 cups chicken broth, low-sodium
2/3 cup whole milk
2 cups frozen mixed vegetables, peas, carrots, corn, green beans
1 1/2 cups Bisquick baking mix
1/2 cup milk, for the topping
1 large egg
1/2 tsp dried thyme, optional
1/2 tsp dried parsley
Directions
- Prepare. Preheat oven to 400F. Grease a 9×13-inch baking dish.
- Make the roux. Melt butter in a saucepan, whisk in flour, salt, pepper, garlic powder, and onion powder for 2 minutes until smooth.
- Build the sauce. Gradually whisk in chicken broth, then milk. Simmer 3-4 minutes until thickened enough to coat a spoon.
- Add chicken and vegetables. Stir in cooked chicken and frozen vegetables until fully coated.
- Transfer to the dish. Pour the filling into the prepared baking dish, spreading evenly.
- Mix the topping. Combine Bisquick, milk, egg, thyme, and parsley until just combined, batter should be slightly lumpy.
- Top and bake. Pour the topping over the filling. Bake 30-35 minutes until golden and a toothpick comes out clean.
- Rest and serve. Let rest 5-10 minutes before serving to let the filling set.
Notes
- Do not overmix the Bisquick topping, this develops gluten and makes it tough instead of light. Use only pre-cooked chicken, raw chicken will not cook through in the baking time and creates a food safety risk.
The USDA recommends cooking chicken to a minimum internal temperature of 165°F (USDA guidelines), which is why this recipe calls for chicken that is already fully cooked before assembling.
Nutritional Information
Understanding the nutritional content of your meals helps you make informed dietary choices. One serving of this chicken pot pie with bisquick (based on 8 servings) contains approximately:
Calories: 385 per serving
Protein: 24 grams
Carbohydrates: 28 grams
Dietary Fiber: 2 grams
Total Fat: 19 grams
Saturated Fat: 8 grams
Cholesterol: 95 milligrams
Sodium: 720 milligrams
This dish provides substantial protein from the chicken, making it a satisfying main course that keeps you full for hours. The vegetables contribute essential vitamins and minerals, including vitamin A from carrots, vitamin C from peas, and various B vitamins.
The calcium content from the milk supports bone health, while the iron from chicken helps with oxygen transport throughout your body. Each serving provides approximately 20% of your daily protein needs and 15% of your daily calcium requirements.
Healthier Alternatives for the Recipe
Making small adjustments can significantly reduce calories and increase nutritional value without sacrificing flavor. These modifications allow you to enjoy this comfort food more frequently while supporting your health goals.
Reduce Fat Content: Replace half the butter with olive oil or use a butter substitute. Choose low-fat milk instead of whole milk. These changes can reduce total fat by approximately 30% per serving.
Increase Vegetables: Add an extra cup of mixed vegetables or include fresh spinach, kale, or broccoli. This boosts fiber content and adds valuable micronutrients while reducing calorie density.
Use Whole Wheat Bisquick: Substitute regular Bisquick with the whole wheat variety to increase fiber content by 3-4 grams per serving. This supports digestive health and provides longer-lasting energy.
Lower Sodium: Use unsalted butter and low-sodium chicken broth. Season with herbs and spices instead of salt. This modification can reduce sodium by up to 40%, making it heart-healthier.
Gluten-Free Option: Use gluten-free Bisquick and substitute the all-purpose flour with a gluten-free flour blend or cornstarch. This makes the recipe accessible for those with celiac disease or gluten sensitivity.
Add More Protein: Include white beans or chickpeas alongside the chicken for additional plant-based protein and fiber. This creates a more balanced macronutrient profile.
Serving Suggestions
Presentation and accompaniments can elevate this comforting dish from simple weeknight dinner to impressive family feast. The right pairings complement the rich, creamy flavors while adding textural contrast.
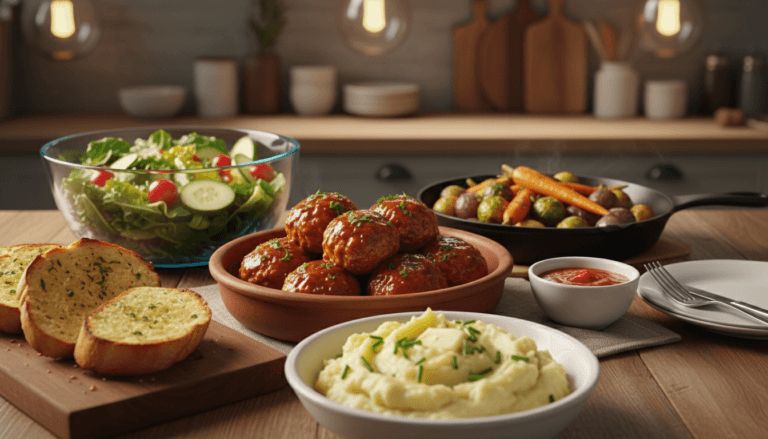
Fresh Green Salad: Serve alongside a crisp salad with mixed greens, cherry tomatoes, and a light vinaigrette. The acidity and crunch balance the richness of the pot pie perfectly.
Cranberry Sauce: A dollop of cranberry sauce adds a sweet-tart element that cuts through the creamy filling. This combination is especially popular during fall and winter months.
Roasted Vegetables: Brussels sprouts, asparagus, or green beans roasted with garlic complement the dish beautifully. The caramelized edges add depth and sophistication.
Garlic Bread: Serve with warm, crusty garlic bread for soaking up every bit of the delicious sauce. This turns the meal into a truly indulgent experience.
Individual Portions: For a more elegant presentation, prepare the recipe in individual ramekins. This works wonderfully for dinner parties and ensures everyone gets an equal portion of the golden topping.
Garnish Ideas: Fresh parsley, thyme sprigs, or a sprinkle of paprika adds visual appeal and fresh flavor. These finishing touches make the dish Instagram-worthy and restaurant-quality.
Common Mistakes to Avoid
Learning from common pitfalls ensures success every time you make this recipe. These tips come from extensive testing and feedback from home cooks who’ve mastered this dish.
- Overmixing the Bisquick Topping: Stir just until combined. Overmixing develops gluten, resulting in a tough, dense topping instead of a light, biscuit-like crust.
- Not Thickening the Sauce Enough: If your sauce is too thin, the pot pie will be soupy. Ensure it coats the back of a spoon before adding chicken and vegetables.
- Using Cold Ingredients: Room temperature eggs and milk incorporate more easily into the Bisquick mixture, creating a smoother batter with better texture.
- Overcrowding the Pan: Using a dish that’s too small causes overflow in the oven. A 9×13-inch pan provides the ideal depth and surface area for proper cooking.
- Skipping the Resting Time: Cutting into the pot pie immediately causes the filling to run. Those 5-10 minutes of patience make serving much cleaner and more attractive.
- Not Preheating the Oven: Starting with a cold oven extends cooking time and can result in uneven browning. Always preheat for consistent results.
- Using Raw Chicken: This recipe requires pre-cooked chicken. Raw chicken won’t cook through in the allotted baking time, creating food safety concerns.
Storing Tips for the Recipe
Proper storage extends the life of your leftovers and maintains quality for future meals. This pot pie actually tastes even better the next day as flavors continue to develop.
Refrigeration: Allow the pot pie to cool completely before covering tightly with aluminum foil or transferring to an airtight container. Store in the refrigerator for up to 4 days. Reheat individual portions in the microwave for 2-3 minutes or reheat the entire dish in a 350°F oven for 20-25 minutes.
Freezing: This dish freezes exceptionally well for up to 3 months. Wrap the cooled pot pie tightly in plastic wrap, then cover with aluminum foil to prevent freezer burn. Label with the date for easy tracking.
Thawing and Reheating: Thaw frozen pot pie in the refrigerator overnight. Reheat in a 350°F oven for 30-40 minutes until heated through and the topping is crispy again. You can also reheat from frozen—just add an additional 15-20 minutes to the cooking time.
Meal Prep Strategy: Prepare the filling up to 2 days in advance and store it separately from the Bisquick topping, which should be mixed fresh just before baking for the best texture.
Conclusion: Comfort Food Made Easy
This chicken pot pie with bisquick genuinely proves that comfort food does not require hours of effort, just a simple filling and a pour-and-bake topping that delivers real homestyle satisfaction. Once you have made it once, this becomes a reliable go-to for busy weeknights and chilly evenings alike.
Swap in different vegetables or herbs to keep this recipe feeling fresh every time you make it.
FAQ
Can I use raw chicken instead of cooked?
No, this chicken pot pie with bisquick requires pre-cooked chicken, since raw chicken will not cook through in the baking time and creates a food safety risk.
Can I use fresh vegetables instead of frozen?
Yes, just pre-cook them slightly first, since frozen vegetables cook directly in the oven but raw fresh ones may need a head start.
Why did my Bisquick topping turn out tough?
This usually means the batter was overmixed. Stir just until combined, a few lumps are completely fine.
Can I make this ahead of time?
Yes, this chicken pot pie with bisquick can be prepped ahead. Prepare the filling up to 2 days ahead and store separately, then mix the topping fresh right before baking for the best texture.
Can I make this gluten-free?
Yes, use gluten-free Bisquick and substitute the all-purpose flour with a gluten-free blend or cornstarch.
Try These Next
Did You Try Our Recipes?
Best recipe ever
I love it, absolutely delicious