Beef Broth Gravy
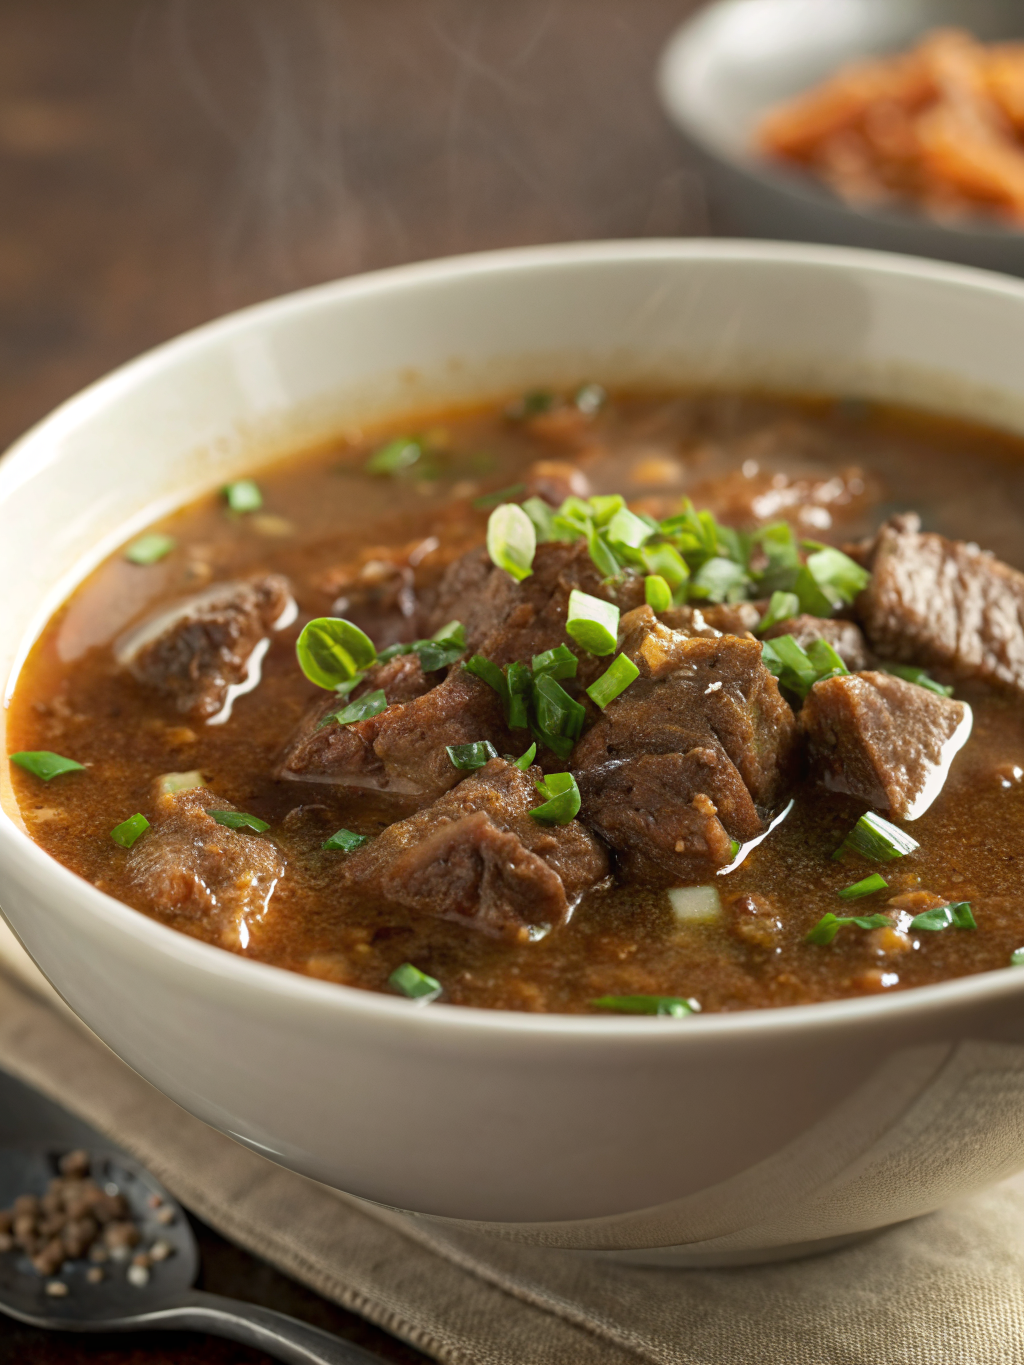
Have you ever wondered why restaurant gravy tastes so much richer and more complex than what you make at home? The secret isn’t expensive ingredients or professional equipment—it’s technique and understanding how to properly build flavor in your beef broth gravy. Whether you’re preparing a Sunday roast, topping mashed potatoes, or elevating a simple weeknight meal, mastering this fundamental sauce will transform your cooking forever.
Making gravy from scratch might seem intimidating, but it’s surprisingly straightforward when you understand the basic principles. This comprehensive guide will walk you through creating a velvety, deeply flavored beef broth gravy that rivals any steakhouse version. You’ll learn professional techniques that ensure perfect consistency every time, along with troubleshooting tips for common problems.
The beauty of this recipe lies in its versatility. Unlike gravies that rely solely on pan drippings, this method works any time you need a rich brown sauce. You can prepare it alongside your main dish or make it ahead for stress-free entertaining. The result is a glossy, full-bodied gravy that clings beautifully to meat, potatoes, and vegetables.
This beef broth gravy comes together in under 20 minutes with a properly browned roux and a splash of tomato paste for real depth. Genuinely restaurant quality.
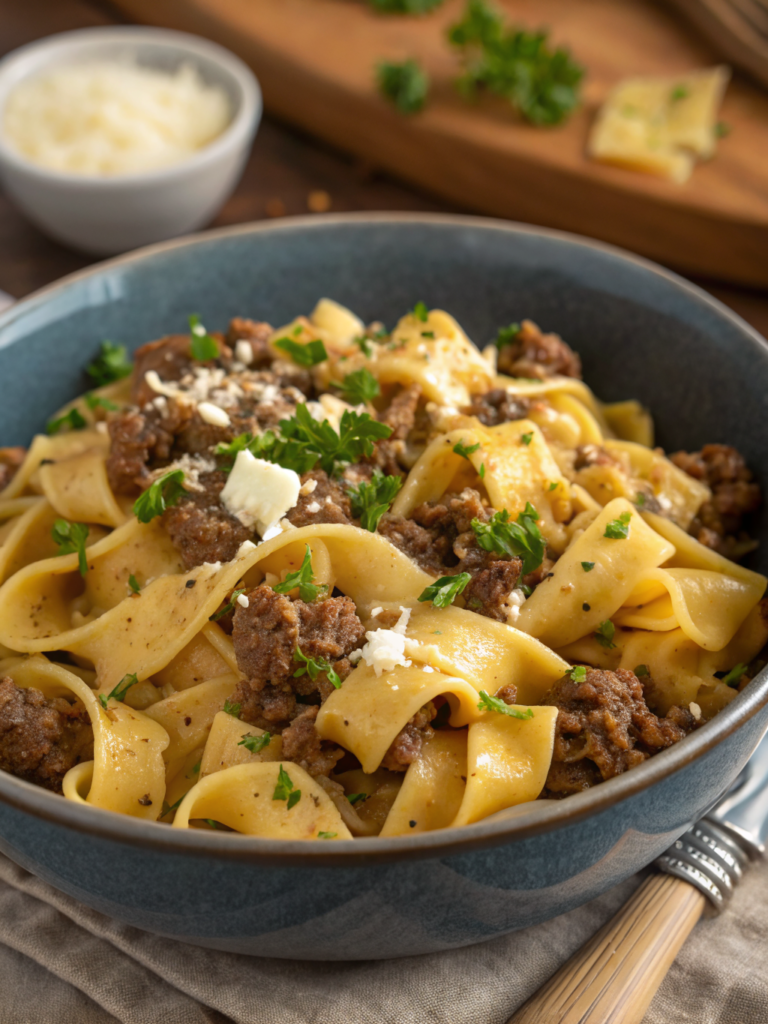
Try my Slow Cooker Beef Stew or Beef and Noodles next for more comforting beef dishes!
Why This Beef Broth Gravy Tastes Restaurant-Quality
The gap between flat, one-note gravy and something genuinely rich comes down to two steps most home cooks rush: properly browning the roux until it looks like peanut butter, and stirring in a bit of tomato paste for umami depth. Neither takes more than a minute or two extra, but both matter enormously.
Straining at the end is the other detail worth doing. It only takes a minute and it is the difference between good gravy and genuinely silky, restaurant-quality gravy.
Ingredients
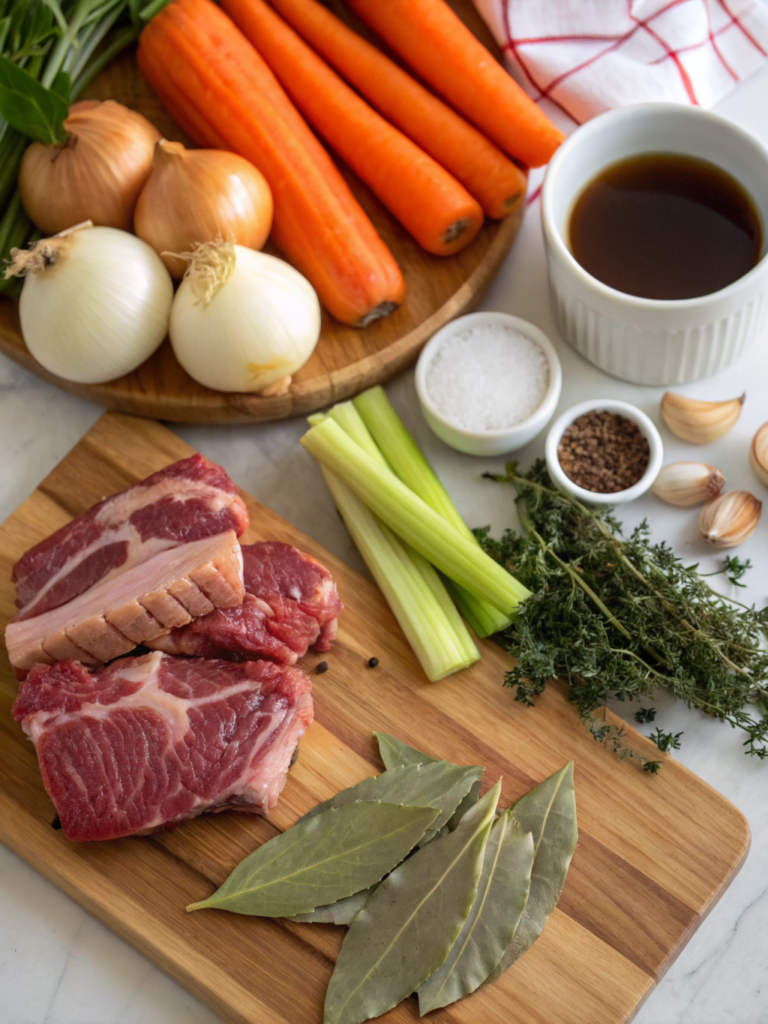
Gathering quality ingredients is the foundation of exceptional beef broth gravy. Each component plays a specific role in building depth and achieving the perfect texture. Here’s everything you’ll need:
The ingredient proportions create approximately four cups of gravy, or 16 servings at ¼ cup each. Scale the recipe up or down while maintaining the flour-to-liquid ratio for consistent results. Quality broth makes the biggest difference—if your broth tastes bland, your gravy will too.
How to Make It
This is just the overview. Scroll down to the recipe card for exact measurements and timing.
Make a roux with butter and flour, browning it until golden. Stir in tomato paste, then whisk in beef broth gradually. Season, simmer until thickened, then strain for a silky finish.
Make Ahead Method
- This gravy can be made up to 3 days ahead and reheated gently on the stovetop, whisking in a splash of broth if it has thickened too much.
- Freezes well for up to 3 months in an airtight container, thaw overnight in the fridge before reheating.
- Making it ahead of a big meal like a roast dinner takes real pressure off your timing on the day.
16
servings5
minutes20
minutes300
kcalIngredients
4 cups beef broth (low-sodium preferred)
4 tbsp unsalted butter
4 tbsp all-purpose flour
2 tbsp tomato paste
1 tbsp Worcestershire sauce
1 tsp onion powder
½ tsp garlic powder
½ tsp black pepper
¼ tsp dried thyme
Salt, to taste
Optional: 2 tbsp red wine or brandy
Directions
- Prep your ingredients. Measure everything out ahead of time, and let your beef broth come to room temperature to help prevent lumps.
- Make the roux. Melt the butter in a heavy-bottomed saucepan over medium heat. Whisk in the flour and cook 3-4 minutes, stirring constantly, until golden brown.
- Stir in the tomato paste. Cook for 1-2 minutes until it darkens slightly. Add the wine or brandy here if using, and let it bubble for 30 seconds.
- Add the broth gradually. Remove from heat and whisk in about 1 cup of broth until smooth, then return to heat and whisk in the rest in two additions.
- Season and simmer. Stir in the Worcestershire sauce, onion powder, garlic powder, thyme, and pepper. Simmer 5-7 minutes until thickened.
- Adjust and strain. Taste and add salt as needed. Strain through a fine-mesh sieve for a silky texture, then serve warm.
Notes
- For a gluten-free version, replace the flour with 2 tablespoons cornstarch mixed with cold water, added at the broth stage instead of making a roux.
For food safety, beef broth and any beef used in this gravy should be handled per USDA guidelines, and leftovers refrigerated within 2 hours (USDA guidelines on leftovers).
Nutritional Information
Understanding the nutritional profile of your beef broth gravy helps you make informed decisions about portion sizes and meal planning. This recipe creates approximately 4 cups (32 fluid ounces) of gravy, with the following nutritional information per 1/4 cup (2-ounce) serving:
Calories: 45-50 calories per serving, making this a relatively light addition to your meal. The calorie content comes primarily from the butter and flour, with minimal contribution from the broth itself.
Fat: 3 grams total fat, including 2 grams of saturated fat from the butter. This represents about 5% of the daily recommended value for a 2,000-calorie diet.
Carbohydrates: 3-4 grams per serving, derived entirely from the flour used for thickening. The carbohydrate content is relatively low compared to many sauces.
Protein: 1-2 grams per serving, contributed by the beef broth. Using bone broth instead of regular broth can increase protein content slightly.
Sodium: 250-400 milligrams per serving, depending on your broth choice. Low-sodium broth keeps this at the lower end, while regular broth pushes it higher. This represents 10-17% of the recommended daily sodium intake.
Other nutrients: Small amounts of iron, vitamin A (from tomato paste), and B vitamins. The nutritional density isn’t high, but gravy serves as a flavor enhancer rather than a primary nutrient source.
Compared to packet gravy mixes, homemade versions typically contain 30-40% less sodium and no artificial preservatives or flavor enhancers. You control exactly what goes into your gravy, making it a healthier choice for those monitoring their intake of processed foods.
Healthier Alternatives for the Recipe
Making your beef broth gravy healthier doesn’t mean sacrificing flavor. Several simple modifications can reduce calories, fat, or sodium while maintaining the rich, savory taste you crave.
Reduce fat content: Replace half or all of the butter with olive oil, which provides heart-healthy monounsaturated fats. Alternatively, use the rendered fat from your roast if available, which adds authentic beef flavor without additional butter. For the lowest fat option, make a cornstarch slurry (2 tablespoons cornstarch mixed with 3 tablespoons cold water) instead of a butter-flour roux, reducing fat by approximately 75%.
Lower sodium levels: Use homemade unsalted beef stock or low-sodium commercial broth as your base. This single change can reduce sodium by 40-60% per serving. Enhance flavor without salt by adding extra aromatics like fresh garlic, shallots, or mushrooms sautéed before adding liquid. A splash of balsamic vinegar or soy sauce (use low-sodium versions) adds depth without excessive salt.
Gluten-free adaptation: Substitute cornstarch or arrowroot powder for all-purpose flour. Use half the amount (2 tablespoons cornstarch to replace 4 tablespoons flour) mixed with cold water to create a slurry. Add this to simmering broth rather than making a traditional roux. The resulting gravy will be slightly more translucent but equally delicious.
Boost nutritional value: Add finely minced mushrooms to your roux for extra umami flavor, B vitamins, and antioxidants. Incorporate a tablespoon of miso paste for probiotic benefits and complex flavor. Use bone broth instead of regular broth for added collagen, which supports joint and skin health.
Vegan modification: Though this changes the fundamental nature of beef broth gravy, you can create a similar brown gravy using vegetable broth, mushroom stock, or a combination. Add soy sauce, liquid smoke, and nutritional yeast to mimic the savory depth of beef. Use vegan butter or oil for the roux.
Serving Suggestions
The versatility of beef broth gravy makes it an invaluable addition to countless dishes. While traditional pairings are always delicious, creative applications can transform everyday meals into something special.
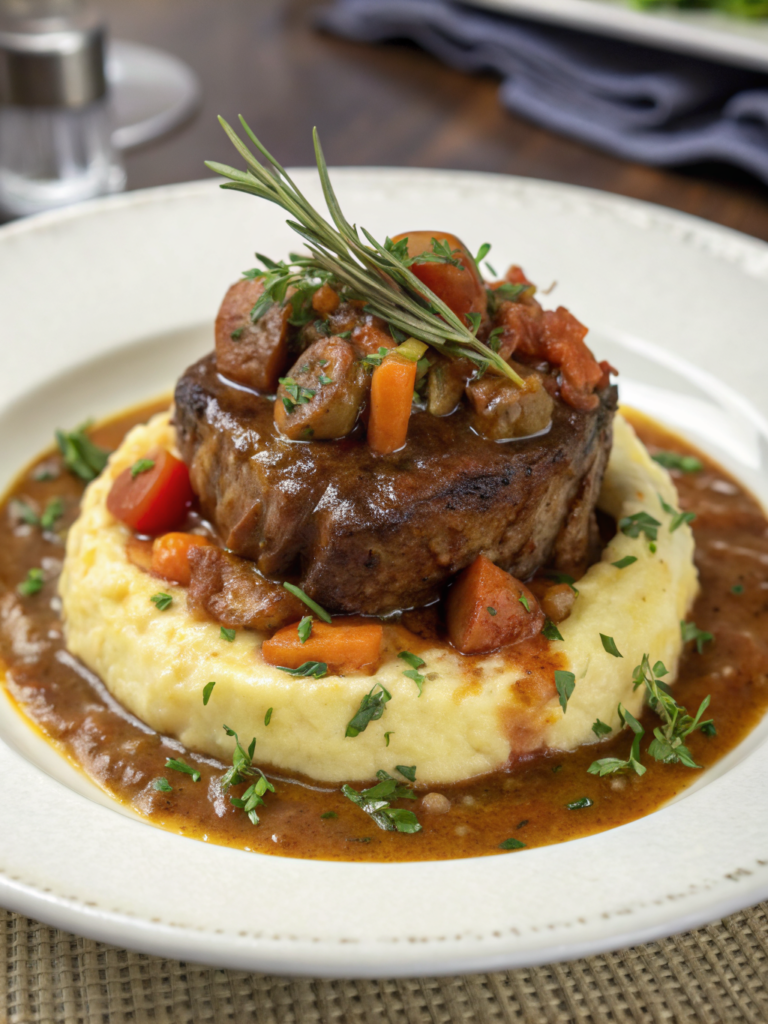
Classic pairings: Pour generously over roast beef, pot roast, or beef tenderloin to enhance the meat’s natural flavors. Serve alongside or over creamy mashed potatoes, where the gravy pools deliciously in every spoonful. Yorkshire pudding becomes even more irresistible when filled with this rich sauce. Meatloaf reaches new heights when topped with homemade gravy instead of ketchup.
Comfort food applications: Transform simple dishes into hearty comfort meals. Make poutine by topping french fries with cheese curds and hot gravy. Create an open-faced hot beef sandwich by layering sliced roast beef on bread and smothering with gravy. Elevate instant ramen by replacing the seasoning packet with a few tablespoons of this gravy for authentic depth.
Vegetable enhancement: Roasted or steamed vegetables become more appealing to picky eaters when drizzled with savory gravy. Try it over roasted root vegetables, green beans, Brussels sprouts, or cauliflower. The rich flavor encourages vegetable consumption while adding minimal calories.
Breakfast and brunch ideas: Pour over biscuits for a hearty breakfast or brunch dish. Use as a base for creamed chipped beef on toast. Incorporate into breakfast poutine with hash browns, eggs, and cheese. The savory richness complements morning meals surprisingly well.
Did You Try Our Recipes?
Best recipe ever
I love it, absolutely delicious

Common Mistakes to Avoid
Even a simple beef broth gravy has a few genuine pitfalls worth knowing.
- Rushing the Roux: A pale roux tastes raw and flat. Give it the full 3-4 minutes to turn golden brown.
- Adding Cold Broth All at Once: This causes lumps. Add it gradually, whisking constantly, especially the first cup.
- Skipping the Tomato Paste: It is a small step that adds real depth and color, do not leave it out.
- Boiling Instead of Simmering: A hard boil can break the gravy. Keep it at a gentle simmer.
- Not Straining: Skipping this step leaves any lumps or seasoning particles in the final gravy.
- Under-Seasoning: Gravy should taste slightly more seasoned on its own than you might expect, since it gets poured over blander foods like potatoes.
Storing Tips for the Recipe
Proper storage keeps this beef broth gravy tasting great for days after cooking.
- Refrigerator Storage: Cool completely, then store in an airtight container for up to 4 days.
- Freezer Storage: Freeze in an airtight container for up to 3 months.
- Reheating: Warm gently on the stovetop, whisking in a splash of broth if it has thickened too much.
Conclusion: A Sauce Worth Mastering
Once you have the roux technique down, this beef broth gravy becomes one of those recipes you can make confidently anytime, not just for a holiday roast. It genuinely elevates everything from a weeknight meatloaf to mashed potatoes.
Keep the ratio in mind and this becomes an easy sauce to scale up or down for whatever you are serving.
FAQ
Can I make this gravy without drippings?
Yes, this recipe is designed to work anytime using just broth, not pan drippings, which makes it far more versatile.
Why did my gravy turn out lumpy?
This usually means the broth was added too quickly, or cold broth hit the hot roux all at once. Add it gradually while whisking.
Can I make this ahead for a holiday meal?
Yes, this gravy can be made up to 3 days ahead and reheated gently, which takes real pressure off your timing on the day.
What can I use instead of beef broth?
Beef stock or a mix of beef bouillon and water both work, though flavor intensity will vary slightly.
How do I fix gravy that is too thin?
Make a slurry of 1 tablespoon flour mixed with 2 tablespoons cold water, then whisk it in and simmer until thickened.
Can I make this gravy gluten-free?
Yes, replace the flour with 2 tablespoons cornstarch mixed with cold water, added at the broth stage instead of making a roux.
Try These Next
Did You Try Our Recipes?
Best recipe ever
I love it, absolutely delicious