Crispy Fried Fish Recipe
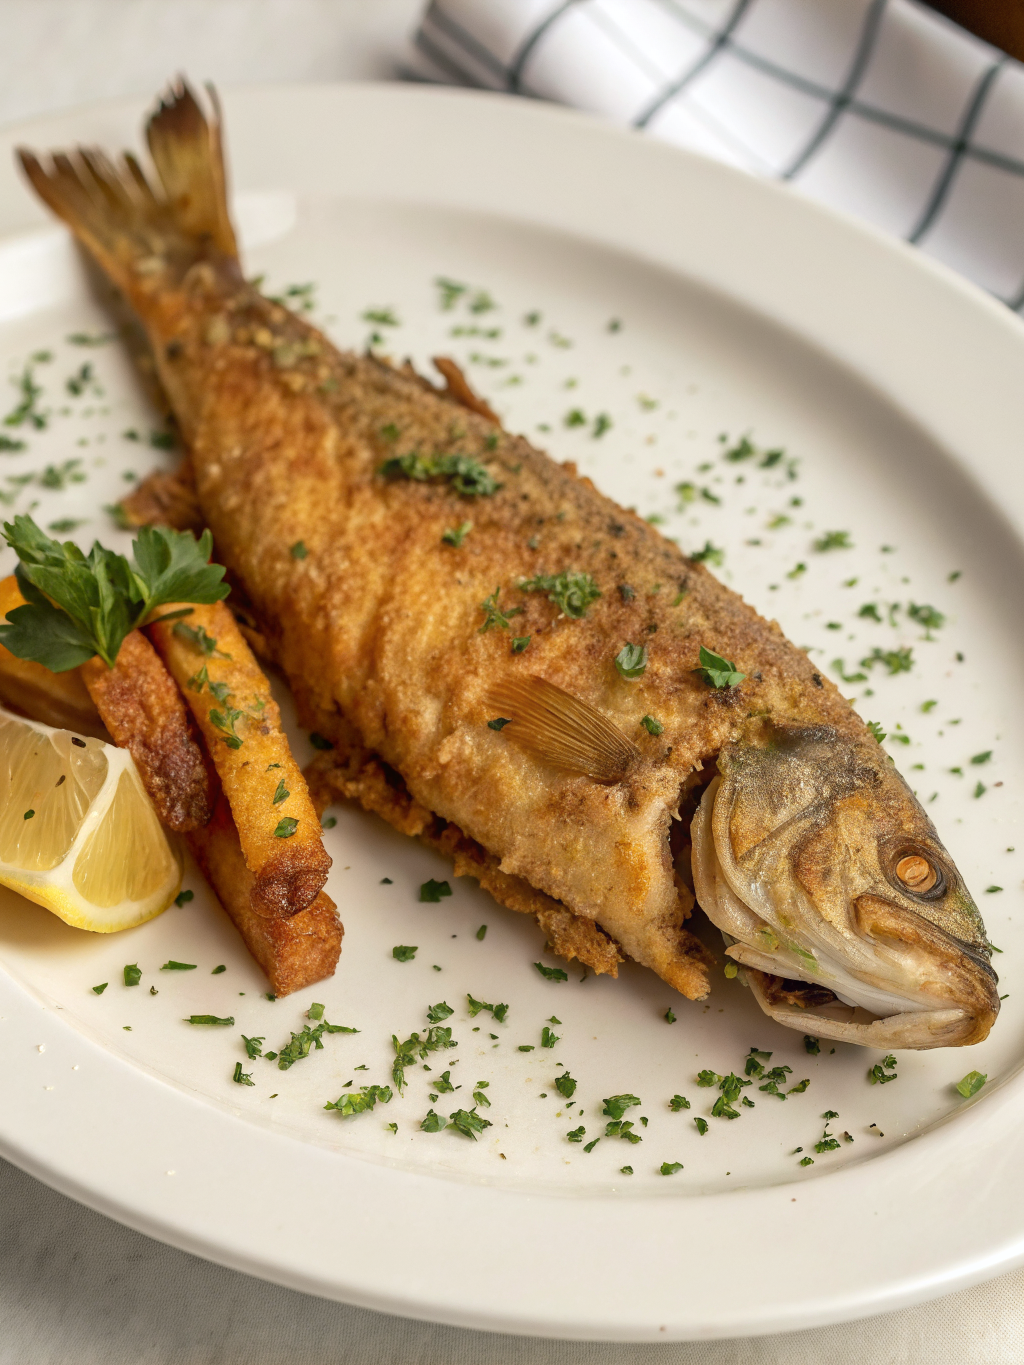
This crispy fried fish gets a three-station dredge of flour, buttermilk-egg, and cornmeal for a genuinely golden, crunchy coating. Ready in under 40 minutes.
Try my Fried Fish Batter Recipe or Perfect Temp for Fried Fish next for more frying tips!
Why This Crispy Fried Fish Actually Delivers
The dual-textured coating is what makes this genuinely different from a basic single-dredge fried fish. Flour first, then buttermilk and egg, then a cornmeal-flour mix, each layer has a job, and skipping one leaves you with a patchy, uneven crust instead of an all-over golden crunch.
Buttermilk pulls double duty here too, it tenderizes the fish and helps the final coating cling on properly, which matters more than people expect once the fish actually hits hot oil.
Ingredients
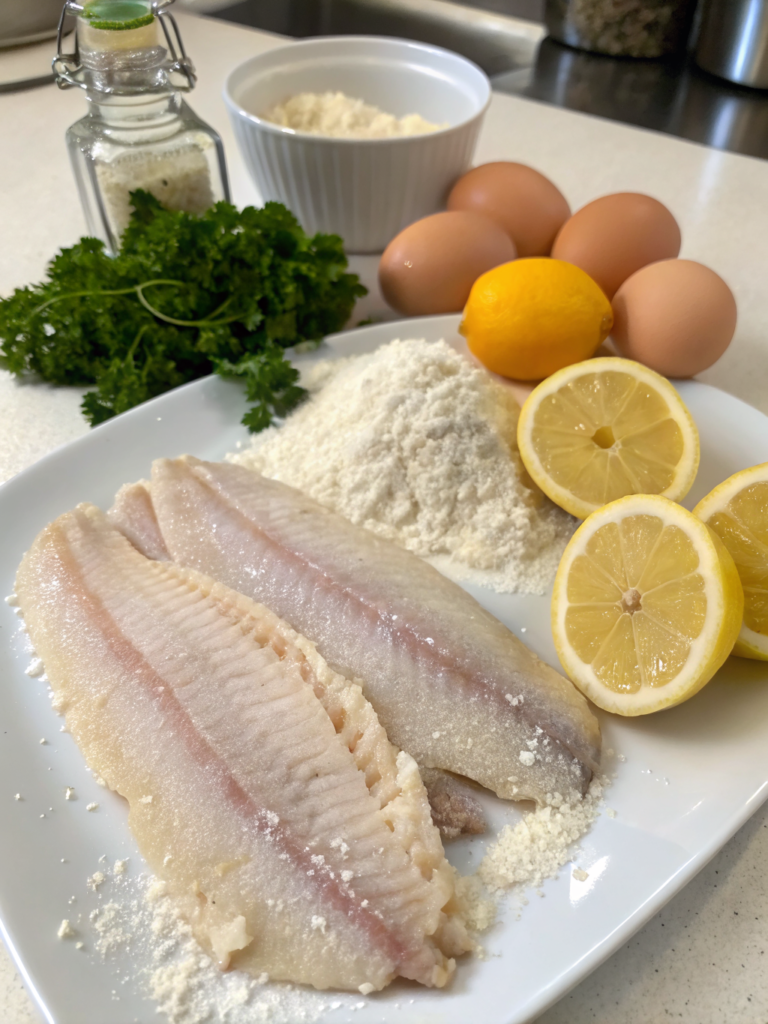
Selecting the right ingredients is crucial for achieving that perfect crispy exterior and tender, flaky interior.
How to Make It
This is just the overview. Scroll down to the recipe card for exact measurements and timing.
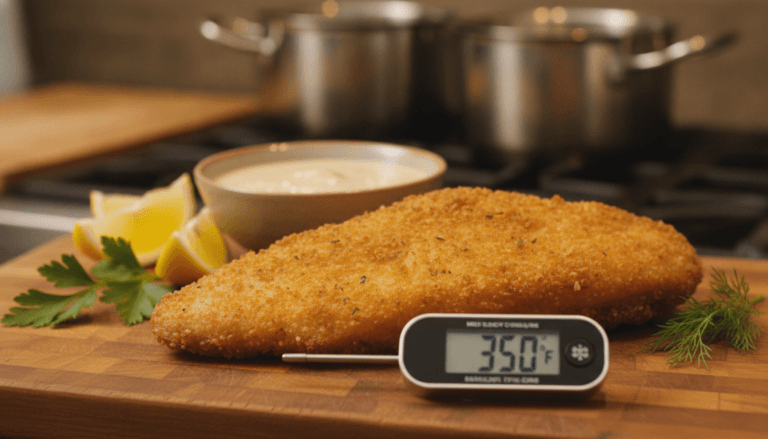
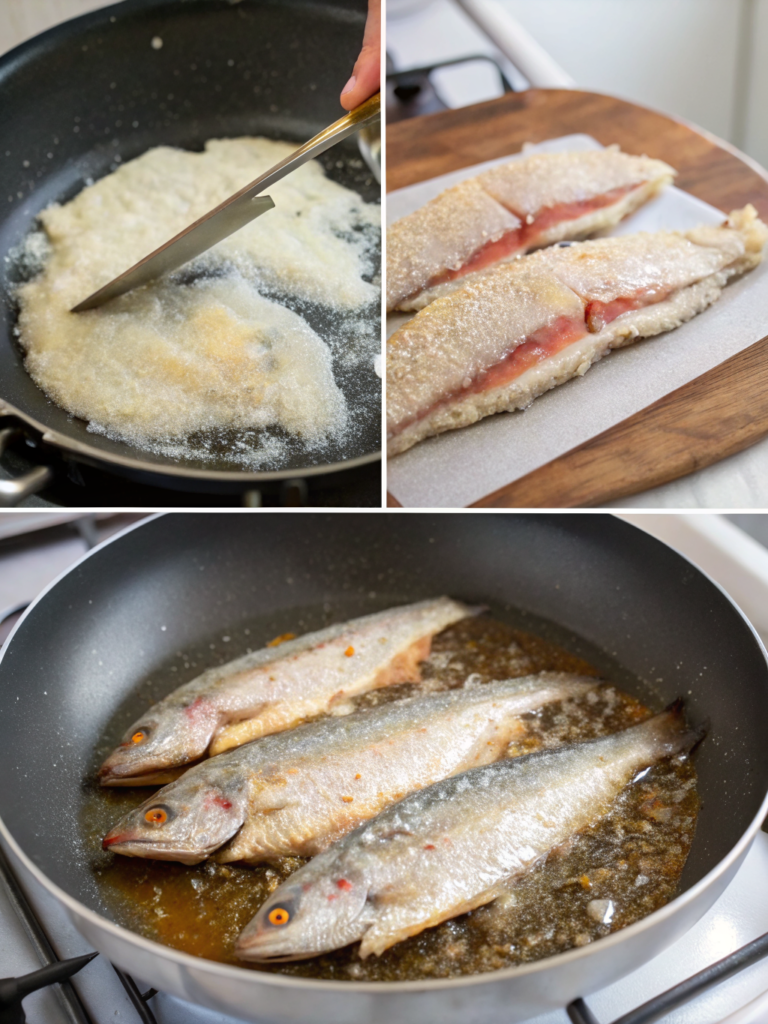
Dredge dried fish in seasoned flour, dip in buttermilk and egg, then press into a cornmeal-flour mixture. Fry in oil at 350-375F until deep golden on both sides, then drain on a wire rack and serve immediately.
Make Ahead Method
- The dry seasoning blend can be made up to a week ahead and stored in an airtight container.
- Fish can be coated up to 30 minutes ahead and held on a wire rack in the fridge before frying.
- This dish is genuinely best fried fresh and served immediately, not really a make-ahead main dish once cooked.
Crispy Fried Fish
Course: SeafoodCuisine: AmericanDifficulty: Easy4
servings30
minutes40
minutes300
kcalA three-station dredge of flour, buttermilk-egg, and cornmeal for a genuinely golden, crunchy coating.
Ingredients
2 lbs white fish fillets, cod, tilapia, catfish, or haddock
2 cups all-purpose flour
1 cup fine cornmeal
2 tsp garlic powder
2 tsp onion powder
1 tbsp paprika
1 tsp cayenne pepper, optional
2 tsp salt
1 tsp black pepper
3 large eggs
1/2 cup buttermilk
Vegetable oil, for frying
Lemon wedges, for serving
Directions
- Prepare the fish. Pat completely dry, cut into 4-6 oz portions, season lightly with salt and pepper. Rest 10 minutes.
- Set up the dredging station. Combine flour with half the seasonings in one dish. Whisk eggs and buttermilk in a second. Mix cornmeal with remaining flour and seasonings in a third.
- Coat the fish. Dredge in seasoned flour, dip in the egg mixture, then press firmly into the cornmeal mixture on both sides.
- Heat the oil. Heat oil 1/2 inch deep for pan frying or 2-3 inches for deep frying, to 350-375F.
- Fry. Cook 2-3 fillets at a time, 3-4 minutes per side, until deep golden and 145F internal temperature.
- Drain and serve. Transfer to a wire rack over a baking sheet. Serve immediately with lemon wedges.
Notes
- Do not skip any of the three dredging stations, each layer serves a purpose in building the final crust. Delicate fish like sole or flounder can fall apart during frying, stick to firmer white fish for this method.
The USDA recommends cooking fish to a minimum internal temperature of 145°F (USDA guidelines).
Nutritional Information
Per serving, approximately 6 ounces of coated and fried fish, you can expect the following:
- Calories: 380-420 | Protein: 35-40g (about 70% DV) | Carbohydrates: 28-32g | Fat: 15-18g | Omega-3s: about 200mg or more depending on fish choice
This dish is rich in B vitamins, especially B12, plus selenium, phosphorus, and potassium, supporting energy metabolism, immune function, and bone health. Properly fried fish at the correct temperature absorbs minimal oil.
Healthier Alternatives for the Recipe
You do not have to sacrifice flavor to make this recipe more health-conscious.
- Air Fryer Method: Lightly spray coated fish with oil and air fry at 400F for 10-12 minutes, cutting calories by about 40 percent.
- Baked Version: Place on a wire rack over a baking sheet, spray with oil, and bake at 425F for 15-18 minutes, reducing fat by up to 60 percent.
- Whole Wheat Coating: Replace half the flour with whole wheat for 3-4 grams more fiber per serving.
- Almond Flour Substitute: For a low-carb, gluten-free option, reducing carbs by about 50 percent.
- Panko Addition: Mix panko with the cornmeal for an extra-crispy coating that absorbs less oil.
- Greek Yogurt Marinade: Replace buttermilk with Greek yogurt for about 10 grams more protein per serving.
Serving Suggestions
These serving ideas complement the crispy, golden coating perfectly.
- Classic Fish and Chips: Serve with crispy fries, malt vinegar, and tartar sauce.
- Southern-Style Plate: Pair with creamy coleslaw, hush puppies, and collard greens.
- Fish Tacos: Break into chunks and serve in warm tortillas with cabbage, pico de gallo, and chipotle mayo.
- Po Boy Sandwiches: Layer on crusty French bread with lettuce, tomatoes, pickles, and remoulade.
- Light and Fresh: Serve over mixed greens with cherry tomatoes, cucumber, and lemon vinaigrette.
- Family-Style Platter: Arrange with lemon wedges and a variety of dipping sauces for sharing.
Common Mistakes to Avoid
Learning from common pitfalls ensures your fried fish turns out perfectly every time.
- Using Wet Fish: The number one reason for soggy, poorly adhered coatings. Always pat fish completely dry and let it rest briefly before coating.
- Incorrect Oil Temperature: Too low results in greasy fish, too high burns the coating. Maintain 350-375F consistently with a thermometer.
- Overcrowding the Pan: Too many fillets at once drops oil temperature and causes uneven cooking. Fry in batches with space between pieces.
- Moving Fish Too Soon: Flipping before the coating sets causes sticking and tearing. Wait until the edges are golden and it releases naturally.
- Skipping the Dredging Steps: Each layer serves a purpose. Skipping the flour dredge or not pressing the final coating firmly results in patchy coverage.
- Using the Wrong Fish: Delicate fish like sole or flounder can fall apart during frying. Stick to firmer white fish like cod, haddock, or catfish for this method.
Final Thoughts on Fried Fish
Fried fish is more than a meal, it is a cherished family tradition in many parts of the United States. It often brings people together, like on special occasions such as Friday fish fries. Enjoying this recipe with your loved ones can create lasting memories.
Do not hesitate to try different variations of this classic dish. You might add cayenne for a spicy twist or experiment with different fish types. Baking or air frying are great for healthier options.
FAQ
What is the best type of fish for frying?
Cod, haddock, pollock, and walleye are top picks for frying. They stay flaky and taste great.
How do I achieve a crispy fried fish batter?
Mix flour, cornstarch, and baking powder for a crispy batter. Adding cold beer or sparkling water makes it light and airy.
Should I use fresh or frozen fish for frying?
Fresh fish tastes better, but frozen works too. Just thaw and dry it well before frying.
What oils are best for frying fish?
Peanut, vegetable, and canola oils are great. They have high smoke points and do not flavor the fish. Keep the oil at 350F for crispiness.
How can I prevent my fried fish from being greasy?
Do not overcrowd the pan to keep oil temperature up. Dry the fish well before battering for a crispy finish.
What are some good side dishes to serve with fried fish?
Try crispy fries, tangy coleslaw, and fresh lemon wedges. They add to the meal and match the fish’s flavors.
How should I store leftover fried fish?
Put leftover fish in airtight containers in the fridge for 2-3 days. Reheat in the oven at 350F to keep it crispy.
Can I experiment with different batters for my fried fish?
Yes, try beer batter, sparkling water batter, or a cornmeal batter. Find the one you like best.
What is the cultural significance of fried fish in American traditions?
Fried fish is key in many American traditions, especially Friday fish fries in the Northeast and Midwest, where families come together.
Try These Next
Did You Try Our Recipes?
Best recipe ever
I love it, absolutely delicious