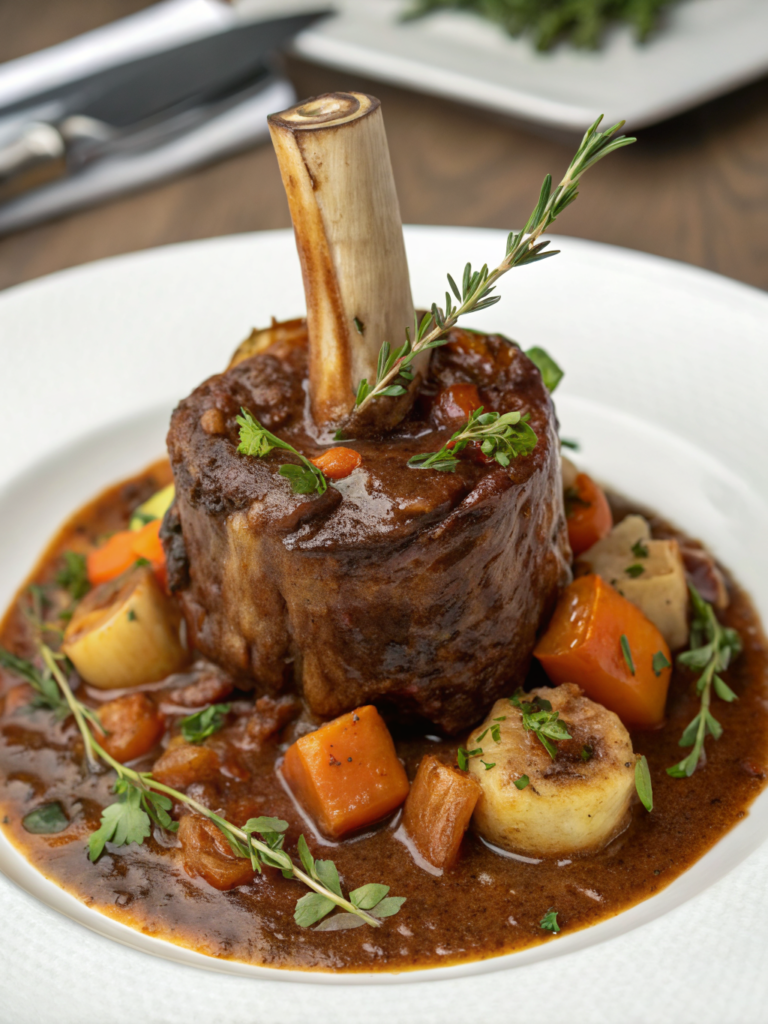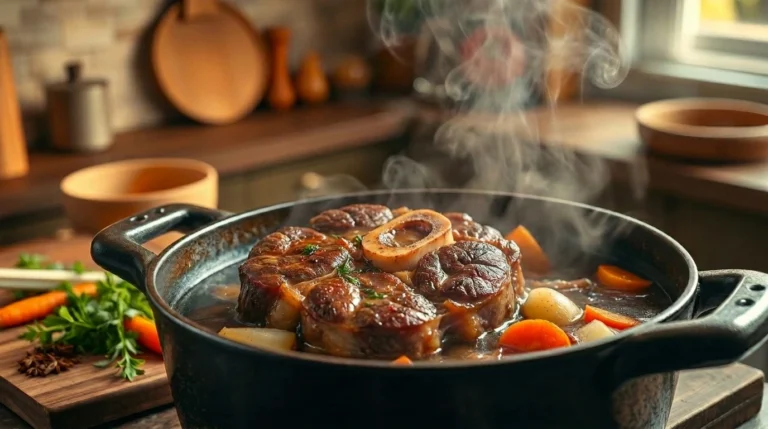
Beef Shank Bone Recipe — How to Make Rich Bone Broth
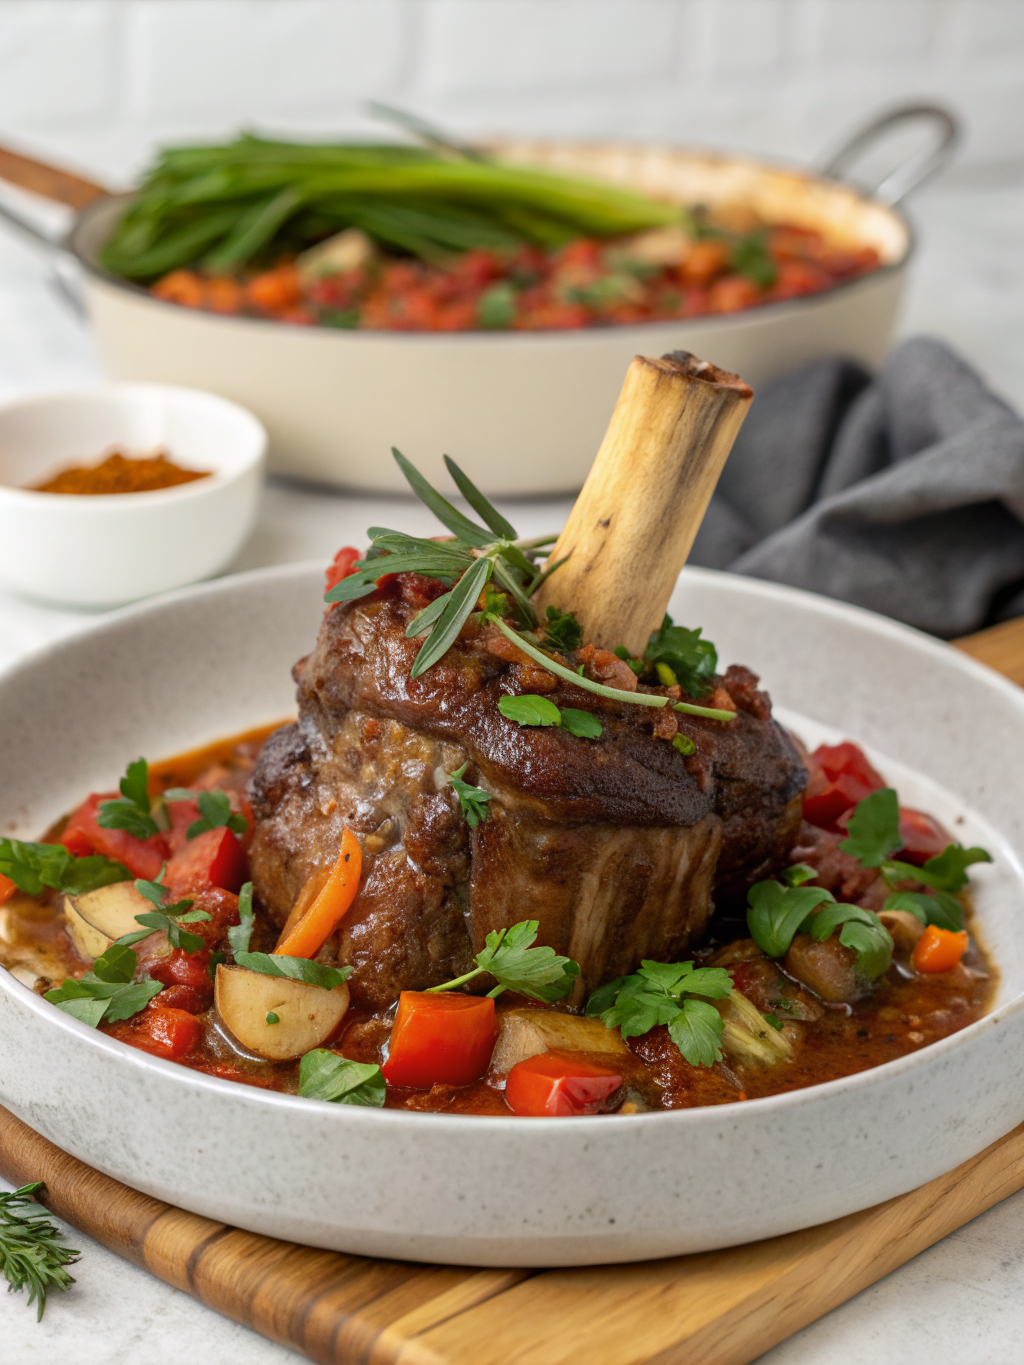
Have you ever wondered why restaurant bone broths taste so much richer and more flavorful than homemade versions? The secret often lies in using beef shank bones, which contain the perfect combination of marrow, collagen, and meat. This beef shank bone recipe will transform your cooking by teaching you how to create restaurant-quality bone broth at home. Whether you’re seeking gut-healing benefits or simply want to elevate your culinary repertoire, mastering this technique opens doors to countless delicious possibilities.
Beef shank bone recipe are nutritional powerhouses that have been used in traditional cooking for centuries. They’re affordable, widely available, and incredibly versatile. This comprehensive guide will walk you through every step of creating a deeply flavorful bone broth that serves as the foundation for soups, sauces, and braised dishes.
Ingredients List
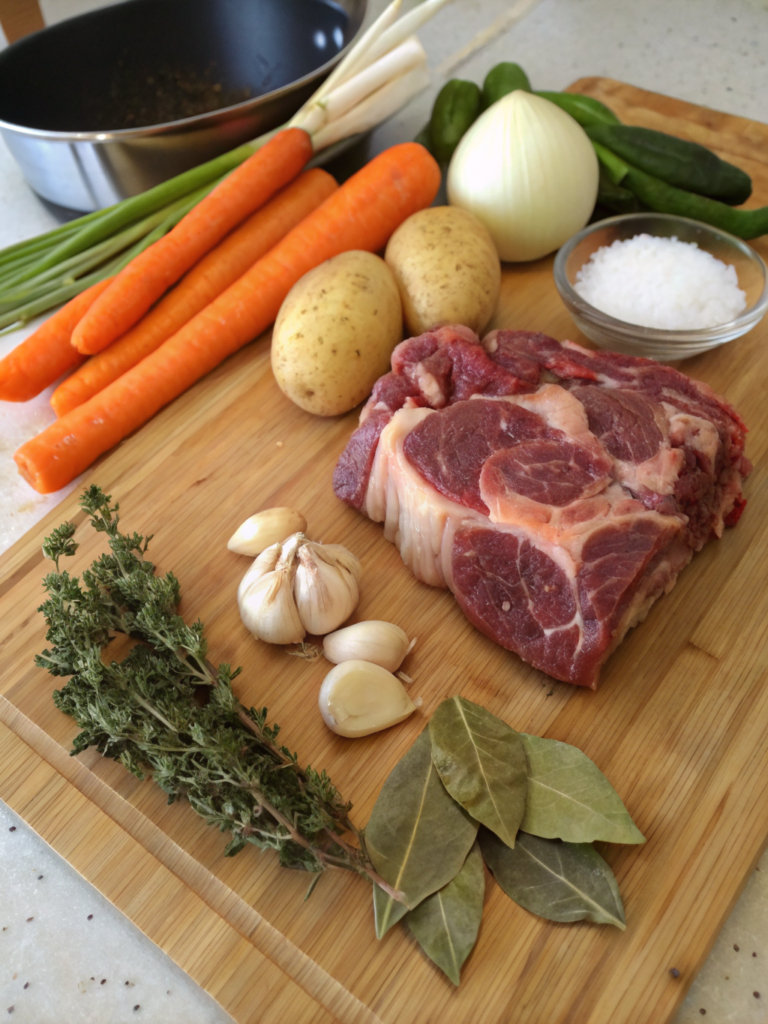
Gathering quality ingredients is essential for creating the best beef shank bone recipe. Here’s everything you’ll need for this transformative recipe:
- 3-4 pounds beef shank bones (with marrow intact) – Look for bones with plenty of meat still attached for maximum flavor
- 2 tablespoons apple cider vinegar – Helps extract minerals from the bones; can substitute with white vinegar or lemon juice
- 2 large onions, quartered – Yellow or white onions work best; no need to peel
- 4 large carrots, roughly chopped – Adds natural sweetness and color
- 4 celery stalks, roughly chopped – Provides aromatic depth
- 6 garlic cloves, smashed – Fresh garlic is essential; don’t substitute with powder
- 2 bay leaves – Adds subtle herbal notes
- 1 tablespoon whole black peppercorns – Provides gentle heat without overwhelming
- 2 sprigs fresh thyme – Can substitute with 1 teaspoon dried thyme
- 2 sprigs fresh parsley – Adds freshness and color
- 1 tablespoon sea salt – Adjust to taste; can add more at the end
- 12-16 cups cold filtered water – Enough to cover bones completely
Optional additions include ginger root for anti-inflammatory benefits, mushrooms for umami depth, or a splash of red wine for complexity. The beauty of this recipe lies in its adaptability to your taste preferences.
Timing
Creating exceptional bone broth requires patience, but the hands-on time is minimal. Here’s the complete timing breakdown:
Preparation Time: 15 minutes – This includes washing bones, chopping vegetables, and gathering aromatics.
Roasting Time: 45 minutes – Roasting bones enhances flavor significantly and is worth the extra step.
Cooking Time: 12-24 hours – Longer cooking extracts more collagen and nutrients; 18 hours is the sweet spot.
Total Time: 13-25 hours – While this seems lengthy, most of it is unattended simmering time.
Compared to quick broth recipes that take just 2-3 hours, this method extracts approximately 300% more collagen and minerals, resulting in a gelatinous, nutrient-dense broth that solidifies when chilled. The extended cooking time breaks down connective tissues completely, creating that signature silky mouthfeel.
Step-by-Step Instructions
Step 1: Roast the Bones
Preheat your oven to 425°F (220°C). Arrange beef shank bones in a single layer on a large roasting pan. Roasting caramelizes the bones and any attached meat, creating deep, complex flavors through the Maillard reaction.
Roast for 45 minutes, turning once halfway through, until the bones are deeply browned and fragrant. This step is crucial for developing rich color and flavor in your final broth. Don’t skip it!
Step 2: Prepare Your Cooking Vessel
Transfer roasted bones to a large stockpot, slow cooker, or Instant Pot. For traditional stovetop cooking, use at least a 12-quart pot. Add the apple cider vinegar directly to the bones and let sit for 30 minutes.
This resting period allows the acid to begin breaking down the bone structure, which helps release calcium, magnesium, and other beneficial minerals into your broth. It’s a simple step that significantly boosts nutritional value.
Step 3: Add Vegetables and Aromatics
Add quartered onions, chopped carrots, celery, smashed garlic cloves, bay leaves, peppercorns, thyme, and parsley to the pot. There’s no need to peel the onions—the skins add beautiful color and contain quercetin, a powerful antioxidant.
Arrange vegetables around the bones rather than on top to ensure even heat distribution. This positioning allows the bones to remain partially exposed for optimal collagen extraction.
Step 4: Cover with Water
Pour cold filtered water over the bones and vegetables until everything is covered by about 2 inches. Cold water is essential—it allows the bones to release their flavors gradually as the temperature rises.
Avoid using hot water initially, as it can cause proteins to coagulate too quickly, resulting in cloudy broth. Leave some space at the top of your pot to prevent boiling over.
Step 5: Bring to a Gentle Simmer
Place the pot over high heat and bring to a boil. Once boiling, immediately reduce heat to low, maintaining just a gentle simmer. You should see small bubbles occasionally breaking the surface, not a rolling boil.
During the first hour, skim off any foam or impurities that rise to the surface using a ladle or fine-mesh strainer. This creates a clearer, cleaner-tasting broth.
Step 6: Long, Slow Simmer
Allow the broth to simmer gently for 12-24 hours. For stovetop cooking, check periodically to ensure the simmer remains gentle and add water if the level drops below the bones.
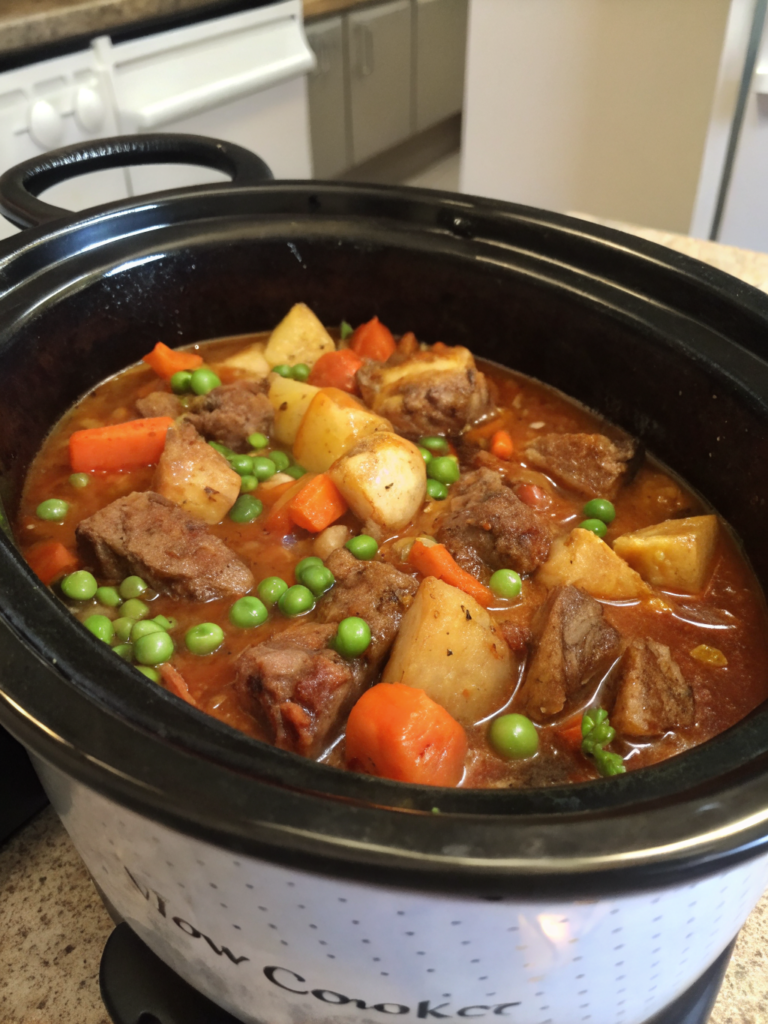
For slow cooker preparation, set to low and cook for 18-24 hours. For Instant Pot, use the soup/broth setting and cook on high pressure for 120 minutes, followed by natural release. While pressure cooking is faster, traditional simmering extracts slightly more collagen.
Step 7: Strain and Season
Carefully strain the broth through a fine-mesh strainer or cheesecloth into a large container. Discard solids—the bones and vegetables have given all their goodness to the broth.
Taste and adjust seasoning with additional salt if needed. Remember that if you’re using this broth as a base for other recipes, it’s better to under-season now and adjust later.
Step 8: Cool and Store
Allow broth to cool at room temperature for about an hour, then refrigerate. Once chilled, a layer of fat will solidify on top. You can remove this for a leaner broth or leave it—it acts as a natural preservative and adds flavor.
Properly made bone broth should have a jelly-like consistency when cold, indicating high gelatin content. This gelatinous texture is the hallmark of a successful beef shank bone recipe.
Nutritional Information
This beef shank bone broth is a nutritional powerhouse that delivers impressive health benefits in every cup. Per 8-ounce serving, you can expect approximately:
Calories: 40-50 (mostly from protein and minimal fat if skimmed)
Protein: 6-10 grams – Essential for muscle maintenance and repair
Collagen: 2-3 grams – Supports joint health, skin elasticity, and gut lining integrity
Fat: 0-3 grams (depending on skimming) – Contains beneficial conjugated linoleic acid (CLA)
Carbohydrates: 0-2 grams – Virtually carb-free, making it perfect for keto and low-carb diets
Minerals: Rich in calcium, magnesium, phosphorus, and trace minerals extracted from the bones
Research published in the Journal of Agricultural and Food Chemistry indicates that bone broth contains 17 different amino acids, including glycine and proline, which support detoxification and collagen synthesis. The gelatin content aids digestion by helping to restore the intestinal lining, making this bone-in beef shank recipe particularly beneficial for those with digestive sensitivities.
The glucosamine and chondroitin naturally present in the rich marrow and collagen of this beef shank bone recipe have been shown to reduce joint pain and inflammation, with some studies suggesting benefits comparable to supplements. Additionally, the high glycine content concentrated in the broth of this beef shank bone recipe promotes better sleep quality and supports liver detoxification processes.
Healthier Alternatives for the Recipe
While this recipe is already nutrient-dense, you can modify it to suit specific dietary needs or health goals:
For Reduced Sodium: Omit salt during cooking and add it only when serving individual portions. This allows each person to control their sodium intake according to their dietary requirements.
For Enhanced Anti-Inflammatory Benefits: Add a 2-inch piece of fresh ginger root and 1 tablespoon of turmeric powder during the last 2 hours of cooking. These additions provide powerful anti-inflammatory compounds without altering the broth’s fundamental flavor.
For Immune Support: Include medicinal mushrooms like shiitake, maitake, or reishi during cooking. These fungi contain beta-glucans that enhance immune function and add umami depth to the broth.
For AIP (Autoimmune Protocol) Compliance: Omit black peppercorns and use only AIP-compliant herbs like thyme and bay leaves. This modification makes the broth suitable for those following elimination diets.
For Lower Fat Content: After refrigeration, remove all solidified fat from the surface. This reduces calories while maintaining protein and mineral content, ideal for those watching fat intake.
For Vegetable-Forward Nutrition: Double the amount of carrots and celery, and add parsnips or turnips for additional vitamins and fiber that leach into the broth.
Serving Suggestions
This versatile bone broth serves as the foundation for countless delicious preparations. Here are creative ways to enjoy your homemade creation:
As a Healing Drink: Heat a mug of broth and sip it plain, seasoned with a pinch of sea salt and fresh herbs. This makes an excellent morning beverage or afternoon pick-me-up, providing sustained energy without caffeine.
Soup Base: Use this broth as the foundation for any soup recipe. It elevates simple vegetable soups, creates restaurant-quality French onion soup, and transforms basic chicken noodle soup into something extraordinary.
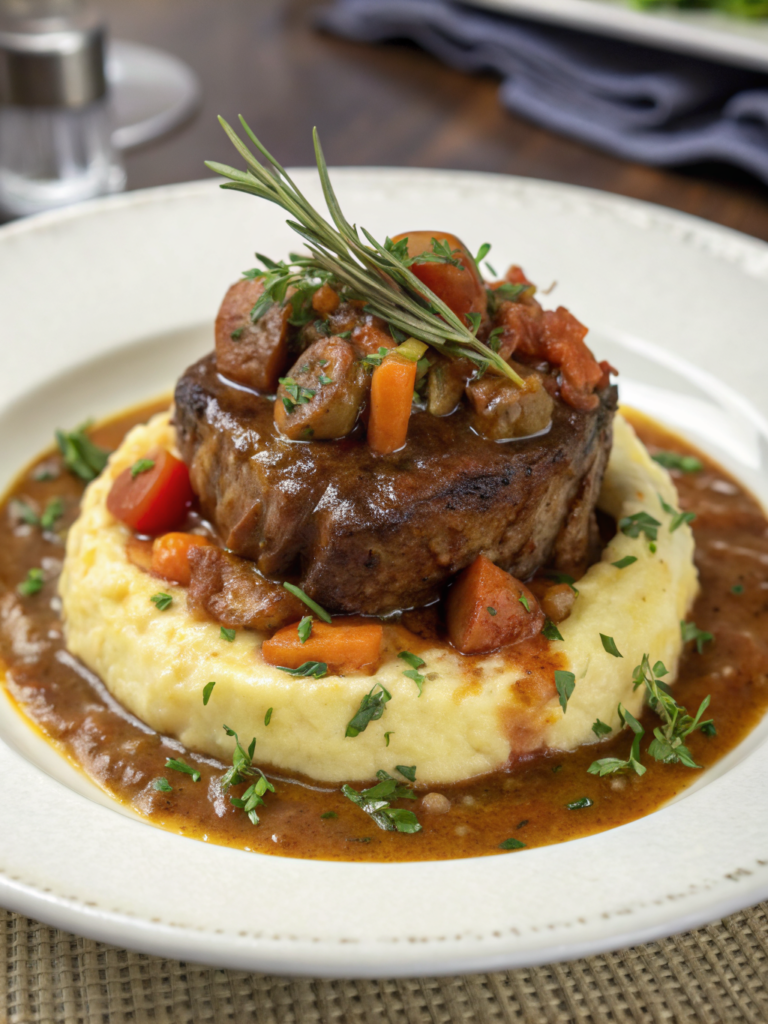
Braising Liquid: Use the broth for braising meats like short ribs, pot roast, or—naturally—more beef shanks. The collagen-rich liquid creates incredibly tender results and deeply flavored sauces.
Cooking Grains: Replace water with bone broth when cooking rice, quinoa, or farro. This simple substitution dramatically increases the nutritional value and flavor of these staple foods.
Sauce Enhancement: Reduce the broth by half over high heat to create a concentrated base for gravies and pan sauces. The natural gelatin creates beautiful body and shine without adding flour or cornstarch.
Vegetable Cooking: Steam or sauté vegetables in bone broth instead of water or oil for added nutrition and flavor. This technique works particularly well with leafy greens and root vegetables.
Freezer Cubes: Freeze broth in ice cube trays for convenient single-serving portions. Pop a cube into dishes whenever you need a flavor boost or nutritional enhancement.
Common Mistakes to Avoid
Even experienced cooks can encounter pitfalls when making bone broth. Here are the most common mistakes and how to avoid them:
- Skipping the Roasting Step: Raw bones produce pale, less flavorful broth. Always roast bones first to develop deep, caramelized flavors that define exceptional bone broth.
- Boiling Too Vigorously: A rolling boil creates cloudy, bitter broth and can emulsify fat throughout. Maintain a gentle simmer with just occasional bubbles breaking the surface for crystal-clear results.
- Not Cooking Long Enough: Stopping at 4-6 hours yields regular stock, not true bone broth. The collagen and minerals require 12-24 hours to fully extract, so patience is essential.
- Adding Salt Too Early: As the broth reduces, salt concentrations increase. Season lightly during cooking and adjust at the end to prevent over-salting.
- Using Too Little Water: Bones should remain submerged throughout cooking. Check periodically and add water as needed to maintain proper levels.
- Forgetting the Acid: Vinegar or lemon juice is crucial for mineral extraction. Without acid, you’ll miss out on significant calcium and magnesium content.
- Overcrowding the Pot: Bones need space for water circulation. Use a pot large enough to hold bones and vegetables comfortably with room for water to move freely.
- Discarding the Marrow: The bone marrow contains valuable nutrients and flavor. Ensure your bones have intact marrow, and don’t discard it during preparation.
Storing Tips for the Recipe
Proper storage ensures your bone broth remains fresh, safe, and delicious for future use. Follow these best practices:
Refrigerator Storage: For long-term storage, bone broth freezes beautifully for up to 6 months. To make it easy to use later, try these convenient freezing methods:
- Silicone molds or ice cube trays: Freeze the broth in 1-cup portions or individual cubes. Once frozen solid, pop them out and store them in a heavy-duty freezer bag. This is perfect when a recipe only calls for a splash of broth!
- Freezer bags: Pour cooled broth into quart-sized freezer bags, squeeze out the excess air, and lay them flat on a baking sheet to freeze. Once frozen, they stack like books to save massive amounts of freezer space.
How to Reheat
- From the fridge: Pour the desired amount into a small saucepan and heat over medium-low heat, stirring occasionally, until it reaches a gentle simmer.
- From the freezer: For best results, thaw the broth in the refrigerator overnight before reheating. If you are in a rush, you can melt the frozen broth block directly in a saucepan over low heat, adding a tablespoon of water to prevent scorching.
A Note on the “Gel” Texture: Don’t be alarmed if your chilled broth looks like Jell-O when you pull it out of the fridge! A thick, gelatinous wobble is the ultimate sign of success for this beef shank bone recipe—it means you successfully extracted all the rich collagen from the bones. It will liquefy back into a smooth, rich liquid the second it heats up.
FAQ
What is beef shank with bone?
How do I cook beef shank?
What are the nutritional benefits of beef shank?
Why is beef shank a cost-effective choice?
What herbs and spices pair well with beef shank?
Can I use beef shank for soups and stews?
How do I prevent beef shank from being tough after cooking?
What are some recommended recipes for beef shank?
How should I serve beef shank dishes?
What should I do if my beef shank sauce is too thin?
Did You Try Our Recipes?
There are no reviews yet. Be the first one to write one.