Italian Chicken Cutlets
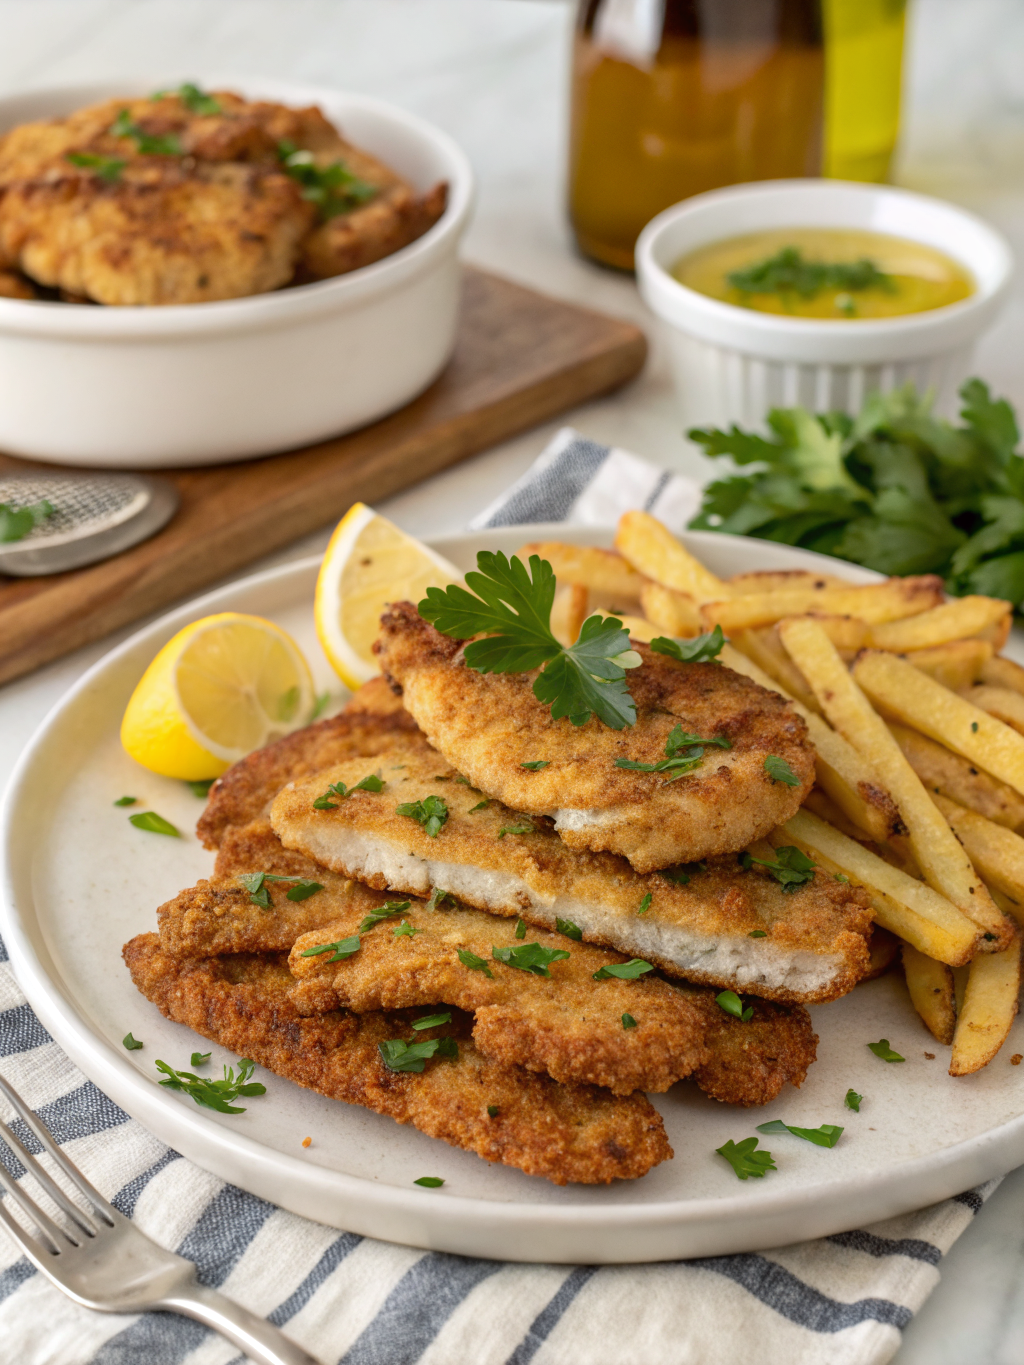
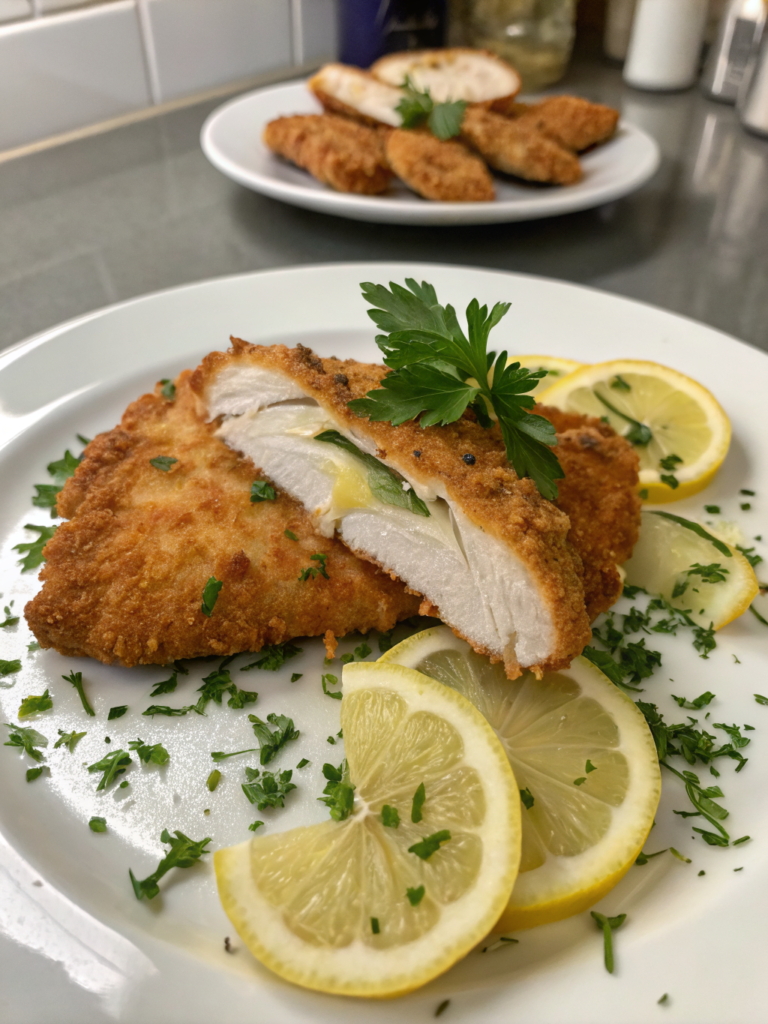
These Italian chicken cutlets are golden, crispy, and coated in a Parmesan-herb breadcrumb crust. Restaurant quality, ready in about 45 minutes.
Try my Beef Round Steak Recipes or Steak Stir Fry next for more crowd-pleasing dinners!
Why Italian Chicken Cutlets Are Worth Mastering
The difference between soggy homemade cutlets and the crispy, golden ones from an Italian trattoria almost always comes down to technique, not ingredients. Once you understand the three-station breading process and why resting the coating matters, italian chicken cutlets become one of the easiest impressive dinners in your rotation.
This version leans into real Parmesan and Italian herbs in the breadcrumb mixture, so the flavor is baked right into the crust instead of relying only on toppings.
Ingredients
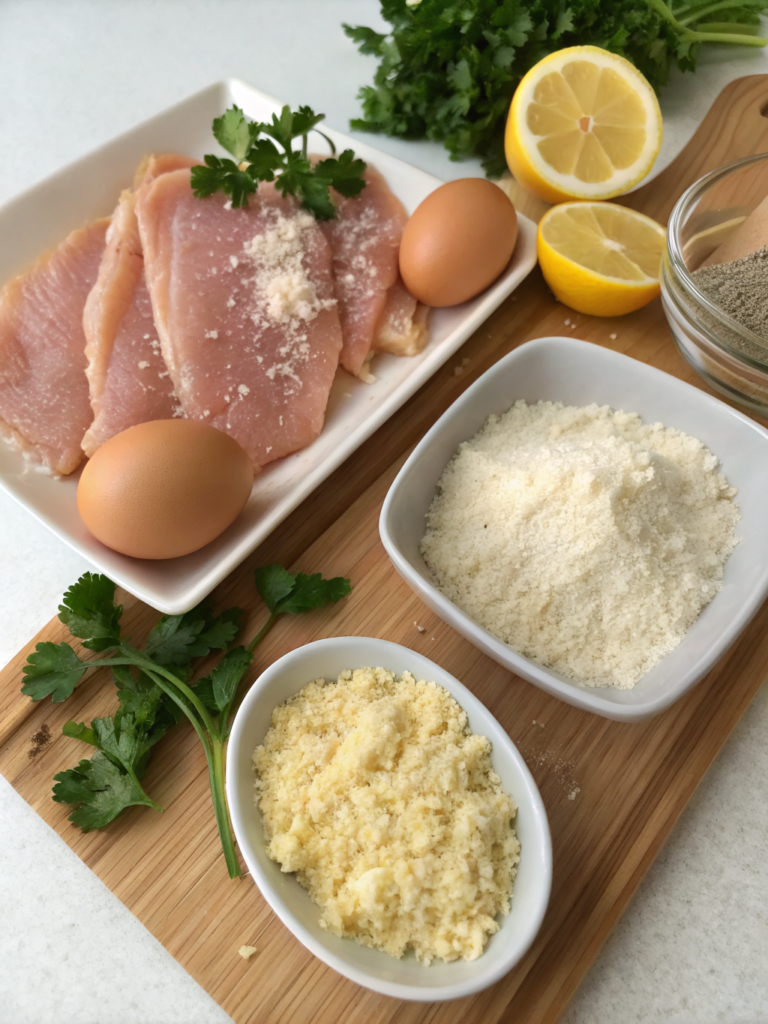
Gathering quality ingredients is the foundation of exceptional italian chicken cutlets. Freshly grated Parmesan makes a real difference here over the pre-shredded kind.
How to Make It
This is just the overview of how to cook italian chicken cutlets. Scroll down to the recipe card for exact measurements and timing.
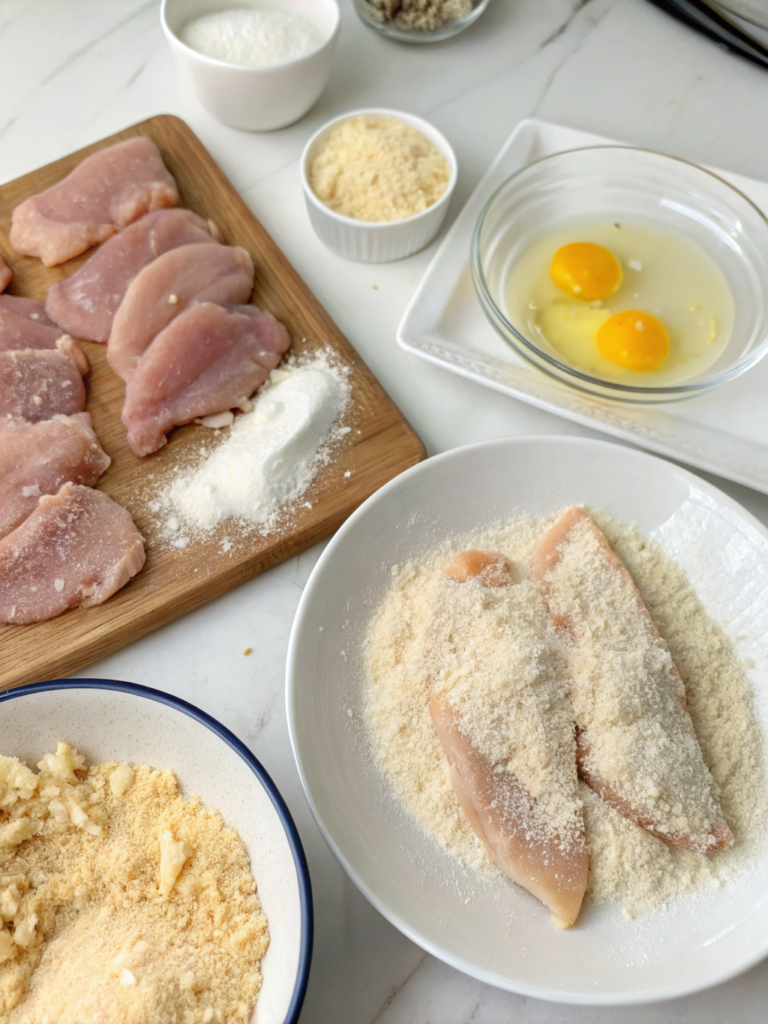
Slice and pound the chicken breasts thin, then set up a three-station breading line: flour, egg wash, then Parmesan breadcrumbs. Rest the breaded cutlets briefly so the coating sets, then pan-fry in hot oil until golden on both sides.
Make Ahead Method
- Cutlets can be breaded up to a day ahead. Arrange on a tray in a single layer, cover, and refrigerate. This actually helps the coating adhere even better.
- Pound and portion the chicken up to 2 days ahead and store raw in the fridge, breading just before cooking.
- Cooked cutlets reheat best in a 375°F oven for 8-10 minutes rather than the microwave, which makes the coating soggy.
Italian Chicken Cutlets
Course: ChickenCuisine: ItalianDifficulty: Easy4
servings20
minutes20
minutes385
kcalGolden, crispy chicken cutlets coated in a Parmesan-herb breadcrumb crust, ready in about 45 minutes.
Ingredients
4 boneless, skinless chicken breasts, about 1.5-2 lbs total
1 cup all-purpose flour
3 large eggs
2 tbsp milk or water
2 cups Italian-seasoned breadcrumbs
1 cup freshly grated Parmesan cheese
2 tsp dried Italian herbs
1 tsp garlic powder
1 tsp salt
1/2 tsp black pepper
1/2 cup olive oil, for pan-frying
2 lemons, for serving
Fresh parsley, optional garnish
Directions
- Prepare the chicken. Slice each breast horizontally into two thinner cutlets, then pound between plastic wrap to an even 1/4-inch thickness.
- Set up the breading station. In one dish combine flour with a pinch of salt and pepper. In a second dish whisk eggs and milk. In a third combine breadcrumbs, Parmesan, Italian herbs, garlic powder, and remaining salt and pepper.
- Bread the cutlets. Pat chicken dry, then dredge in flour, dip in egg, and press into the breadcrumb mixture on both sides. Let rest 10 minutes before cooking.
- Pan-fry. Heat olive oil in a large skillet over medium-high heat. Cook cutlets in batches, 3-4 minutes per side, until golden brown and cooked through.
- Rest and serve. Rest 5 minutes, then squeeze fresh lemon juice over the top and garnish with parsley.
Notes
- Letting the breaded cutlets rest for 10 minutes before frying really does help the coating stay on. For a lighter version, bake at 425F for 15-18 minutes or air fry at 400F for 10-12 minutes instead of pan-frying.
For food safety, chicken should reach a minimum internal temperature of 165°F (USDA guidelines).
Nutritional Information
Understanding the nutritional profile helps you make informed dietary choices. Each serving, one cutlet, of pan-fried italian chicken cutlets contains approximately:
- Calories: 385 per serving, a moderate calorie count for a protein-rich main dish.
- Protein: 42 grams. Chicken breast is an excellent lean protein source, providing approximately 84 percent of the daily recommended protein intake.
- Carbohydrates: 22 grams, primarily from the breadcrumb coating.
- Fat: 14 grams, including healthy fats from olive oil and some saturated fat from Parmesan cheese.
- Fiber: 1 gram. Pair with vegetable sides to increase overall meal fiber.
- Sodium: 680 mg, about 30 percent of the recommended daily intake. Reduce by using low-sodium breadcrumbs.
- Key Vitamins and Minerals: excellent source of B vitamins, especially B6 and niacin, plus selenium and phosphorus. The Parmesan contributes about 15 percent of daily calcium needs.
Healthier Alternatives for the Recipe
Adapting this classic recipe to meet various dietary needs does not mean sacrificing flavor.
- Reduce Oil Content: Use the baked or air-fried methods in the Notes above. These can reduce total fat content by 40-50 percent while preserving a satisfying crunch.
- Increase Fiber: Substitute half the breadcrumbs with whole wheat panko. This adds 3-4 grams of fiber per serving without noticeably changing taste or texture.
- Lower Sodium: Use unseasoned breadcrumbs and control salt yourself. This can reduce sodium by up to 35 percent.
- Gluten-Free Option: Replace regular flour with a gluten-free blend and use certified gluten-free breadcrumbs. Crushed gluten-free cornflakes also work well.
- Dairy-Free Adaptation: Substitute Parmesan with nutritional yeast in a 1:1 ratio, adding a touch more salt since it is less salty than cheese.
- Boost Nutrition: Add 2 tablespoons of ground flaxseed or wheat germ to the breadcrumb mixture for extra omega-3s.
Serving Suggestions
The versatility of italian chicken cutlets makes them perfect for countless serving scenarios.
- Classic Italian Style: Serve with a simple arugula salad dressed in lemon vinaigrette, cherry tomatoes, and shaved Parmesan.
- Chicken Cutlet Sandwich: Layer on a crusty ciabatta roll with fresh mozzarella, tomato, and basil, drizzled with balsamic glaze.
- Chicken Milanese Presentation: Top with a fresh tomato and arugula salad dressed simply with olive oil and lemon juice.
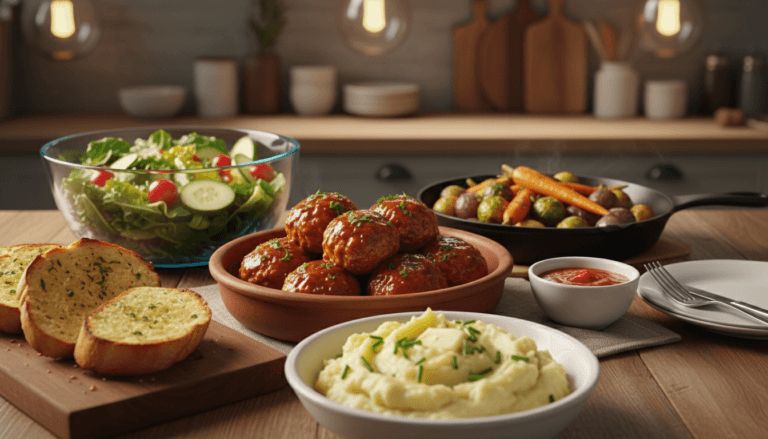
- Family-Style Dinner: Slice into strips and serve alongside pasta with marinara, roasted vegetables, or creamy polenta.
- Elegant Plating: Serve with roasted asparagus, garlic mashed potatoes, and a lemon-caper butter sauce.
- Mediterranean Bowl: Slice and arrange over quinoa or couscous with roasted red peppers, olives, cucumber, and tzatziki.
Common Mistakes to Avoid
Even experienced cooks can stumble with breaded chicken. Here are the most frequent pitfalls with italian chicken cutlets and how to sidestep them.
- Skipping the Pounding Step: Unevenly thick chicken cooks inconsistently. Always pound to a uniform 1/4-inch thickness.
- Not Drying the Chicken: Moisture prevents proper coating adhesion and creates steam, resulting in soggy breading. Pat cutlets thoroughly dry first.
- Incorrect Oil Temperature: Too hot burns the coating before the chicken cooks through. Too cool produces greasy results. Test with a breadcrumb, it should sizzle immediately.
- Overcrowding the Pan: Cutlets need space to fry properly. Cook in batches rather than cramming the skillet.
- Skipping the Rest Before Frying: Letting the breaded cutlets sit 10 minutes helps the coating set and stay on during cooking.
- Using Pre-Grated Parmesan: The dry, powdery kind does not melt or flavor the crust the same way freshly grated does.
Conclusion: A Weeknight Classic Worth Mastering
Once you have the three-station breading process down, italian chicken cutlets become one of those dishes you can make confidently any night of the week, not just for company.
The technique matters more than any single ingredient, so feel free to experiment with different herb blends or cheeses once you have the basic method down.
FAQ
Can I use chicken thighs instead of breasts?
Yes, boneless skinless thighs work well and stay especially juicy, though you may need to adjust the pounding and cooking time slightly since they are thinner and cook a bit faster.
Why did my breading fall off during cooking?
This usually means the chicken was not dry enough before breading, or the cutlets went straight into the pan without resting. Pat dry thoroughly and let breaded cutlets rest 10 minutes first.
Can I make these ahead for a party?
Yes, bread them up to a day ahead and refrigerate on a tray, or fry them fully and reheat in a 375F oven for 8-10 minutes to keep the crust crisp.
What is the difference between this and chicken parmesan?
This recipe is served simply with lemon, while chicken parmesan tops the same cutlet with marinara and melted mozzarella, then often bakes it briefly.
Can I freeze breaded chicken cutlets?
Yes, freeze uncooked breaded cutlets in a single layer, then transfer to a bag once solid. Fry from frozen, adding a few extra minutes per side.
What can I use instead of Parmesan?
Pecorino Romano makes a saltier, sharper substitute, or use nutritional yeast for a dairy-free version.
How do I keep the coating from getting greasy?
Make sure your oil is properly hot before adding the chicken, and drain cooked cutlets on paper towels immediately.
Can I bake these instead of frying?
Yes, bake at 425F for 15-18 minutes on a wire rack, flipping halfway, for a lighter version with less oil.
Try These Next
Did You Try Our Recipes?
Best recipe ever
I love it, absolutely delicious